The creation process of this 3D model can be divided into three main tasks:
Task 1: Capturing photographs
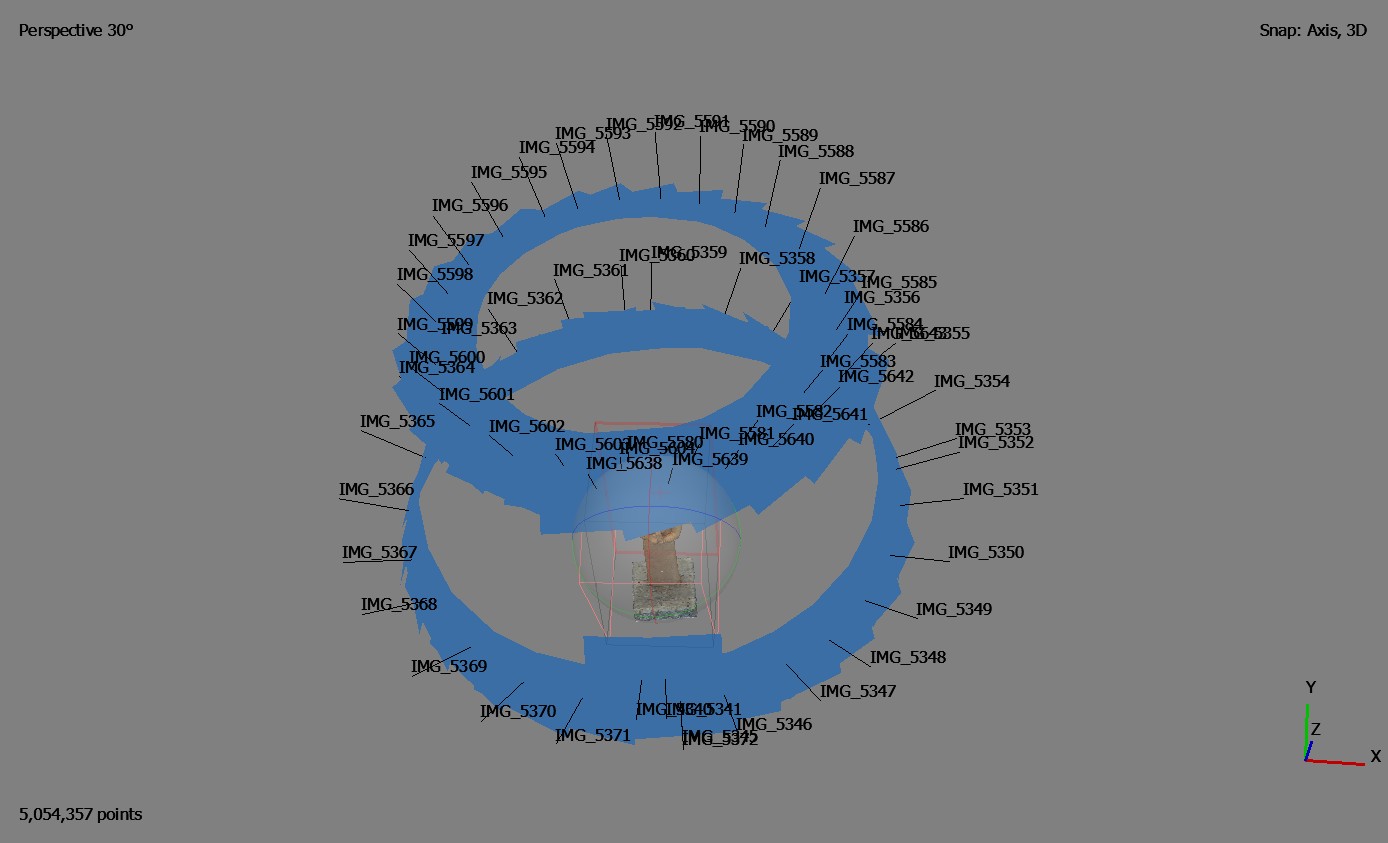
The figurine was photographed at the Cyprus Museum of Natural History, where it is currently stored. The photographs were taken using a Canon EOS 850D camera with the following settings: f/8 aperture, ISO 200, 1/15 sec exposure time, and an 18 mm focal length. A tripod and remote camera control were used to prevent blurriness and ensure image sharpness. I did not have a lightbox where to put the figurine to guarantee constant light during the entire photoshoot cycle and isolate the object, but I set a white background using paper sheets and cardboard in order to prevent an extremely noisy background. In photogrammetry, software algorithms identify common points (tie points) in overlapping areas of images, allowing them to merge the photographs accurately (fig. 1). To ensure complete coverage of the object, the figurine was, therefore, photographed from multiple angles and directions.
Fig. 1 - Result of the alignment process where camera
positions show that the complete coverage
of the subject was reached
Task 2: Pre-processing the images
Having a high-quality set of images is essential for achieving a well-detailed, photogrammetry-based 3D model. Due to lighting issues at the photography setup, pre-processing was necessary to correct the lighting of the images. The RAW files were adjusted and enhanced accordingly.
Task 3: Developing the model
The model was created using the Structure from Motion (SfM) technique, a photogrammetric method that combines the accuracy of photogrammetry with the automation and detailed object recognition provided by computer vision.
The software used for processing the data was Agisoft Metashape 2.2.0 Professional Edition. The workflow for the 3D model creation followed these main steps:
The model was then scaled to ensure an accurate representation of the object’s actual dimensions.
While the final model had high geometric quality, minor issues arose with the final part of the dress figurine and the base. The object currently stands with the support of a metal rod inserted between the body and a marble base, which were added during its inventory process to keep the figurine upright. However, due to the reflective properties of the metal, the rod could not be accurately reconstructed in Metashape. In addition, the reflection caused by both the rod and the marble contributed to creating some noise between the dress bottom and the base (fig. 2). To solve this, I opted to mask the rod and generate the final model without it. In a further step, I imported the textured model into Blender, a free and open-source 3D creation suite, where the metal rod was manually recreated using the “cylinder shape add” function (figg. 3, 4).
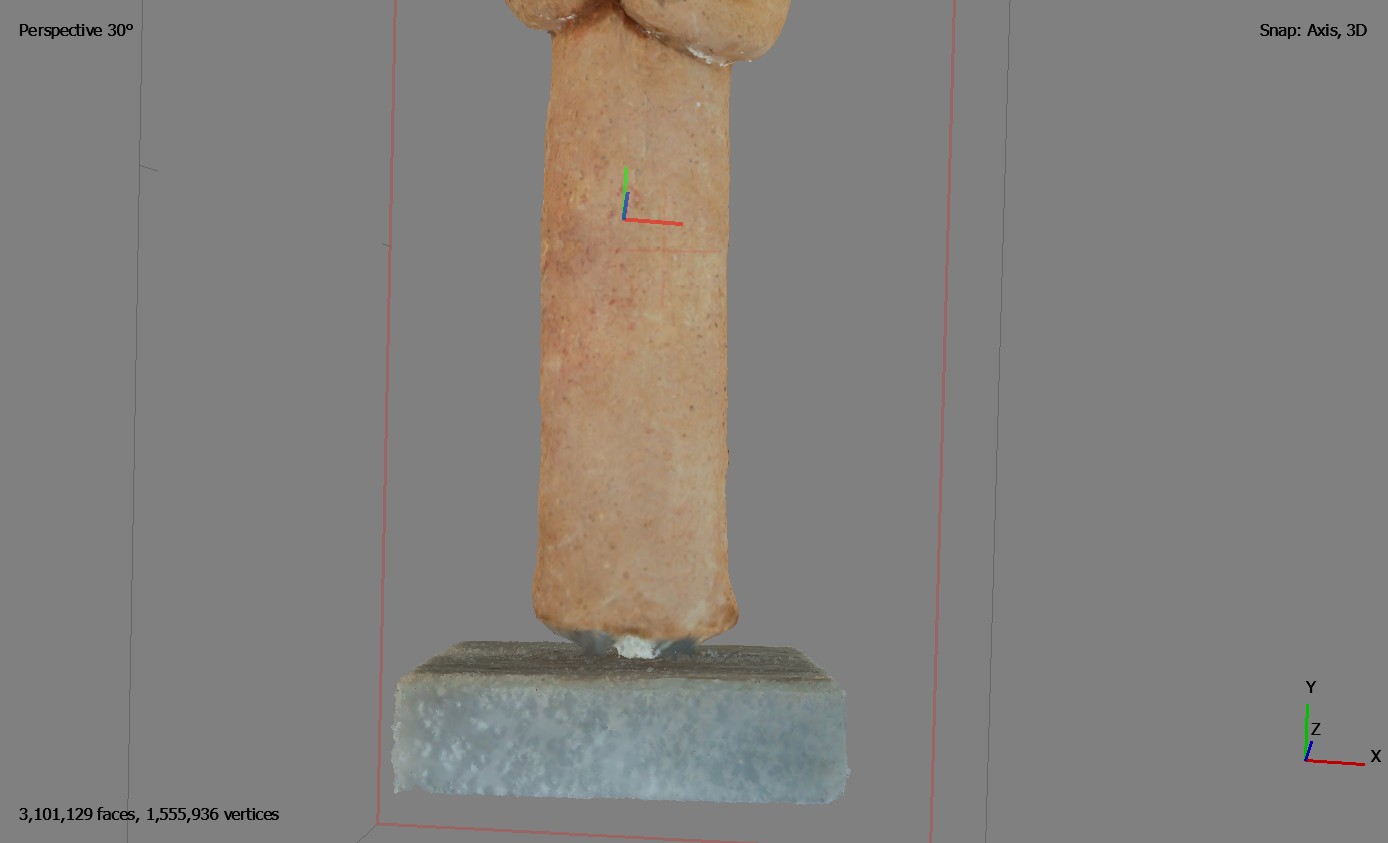
Fig. 2 – First attempt of building texture with noise
between the dress and the base of the figurine
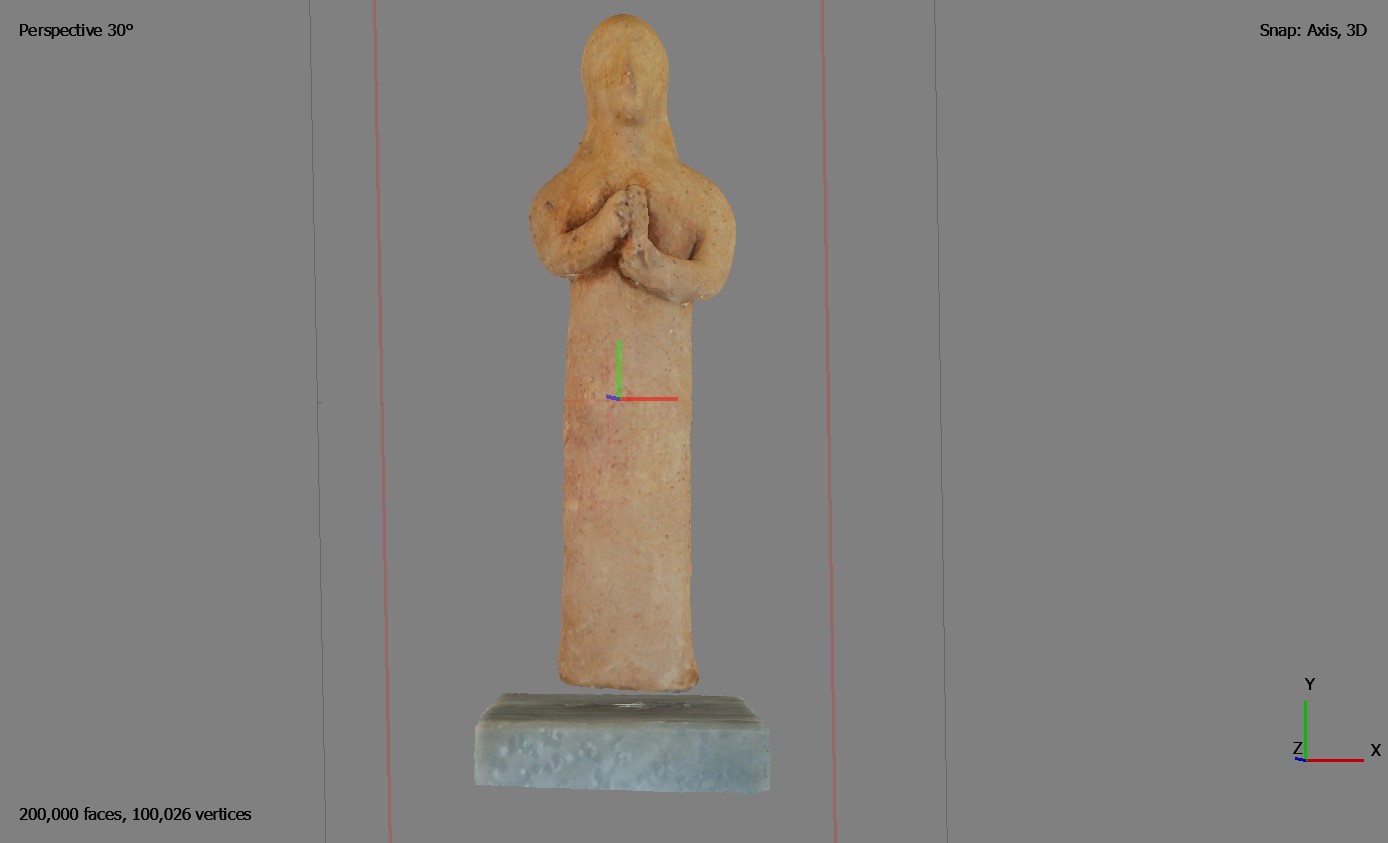
Fig. 3 – Final figurine model without rod
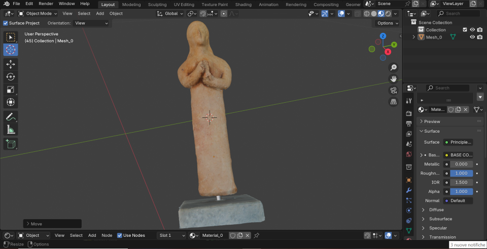
Fig. 4 – Building rod process in Blender