In this project, our images were converted into a three-dimensional model of the Woody toy using photogrammetry. Photogrammetry is the "art, science, and technology of obtaining reliable information about physical objects and the environment through the process of recording, measuring, and interpreting photographic images," according to the American Society of Photogrammetry and Remote Sensing (Papadopoulos, C, n.d.).
There are two steps involved in photogrammetry. But rather than being linear, this process alternates between the steps. The first step was to photograph the toy. This includes learning photography-related skills, such as how to use a DSLR camera's settings and how aperture, shutter speed, and IOS work together. In order to align the pictures in the software, the zoom level also needs to be chosen at the start of the session and kept unchanged throughout. After the settings are determined, it is crucial to capture the object from a variety of angles. More precisely, images of various height levels and 360° perspectives are required, with roughly 12–18 images per level. It is also beneficial to take additional pictures of the more delicate and complex areas of the toy.
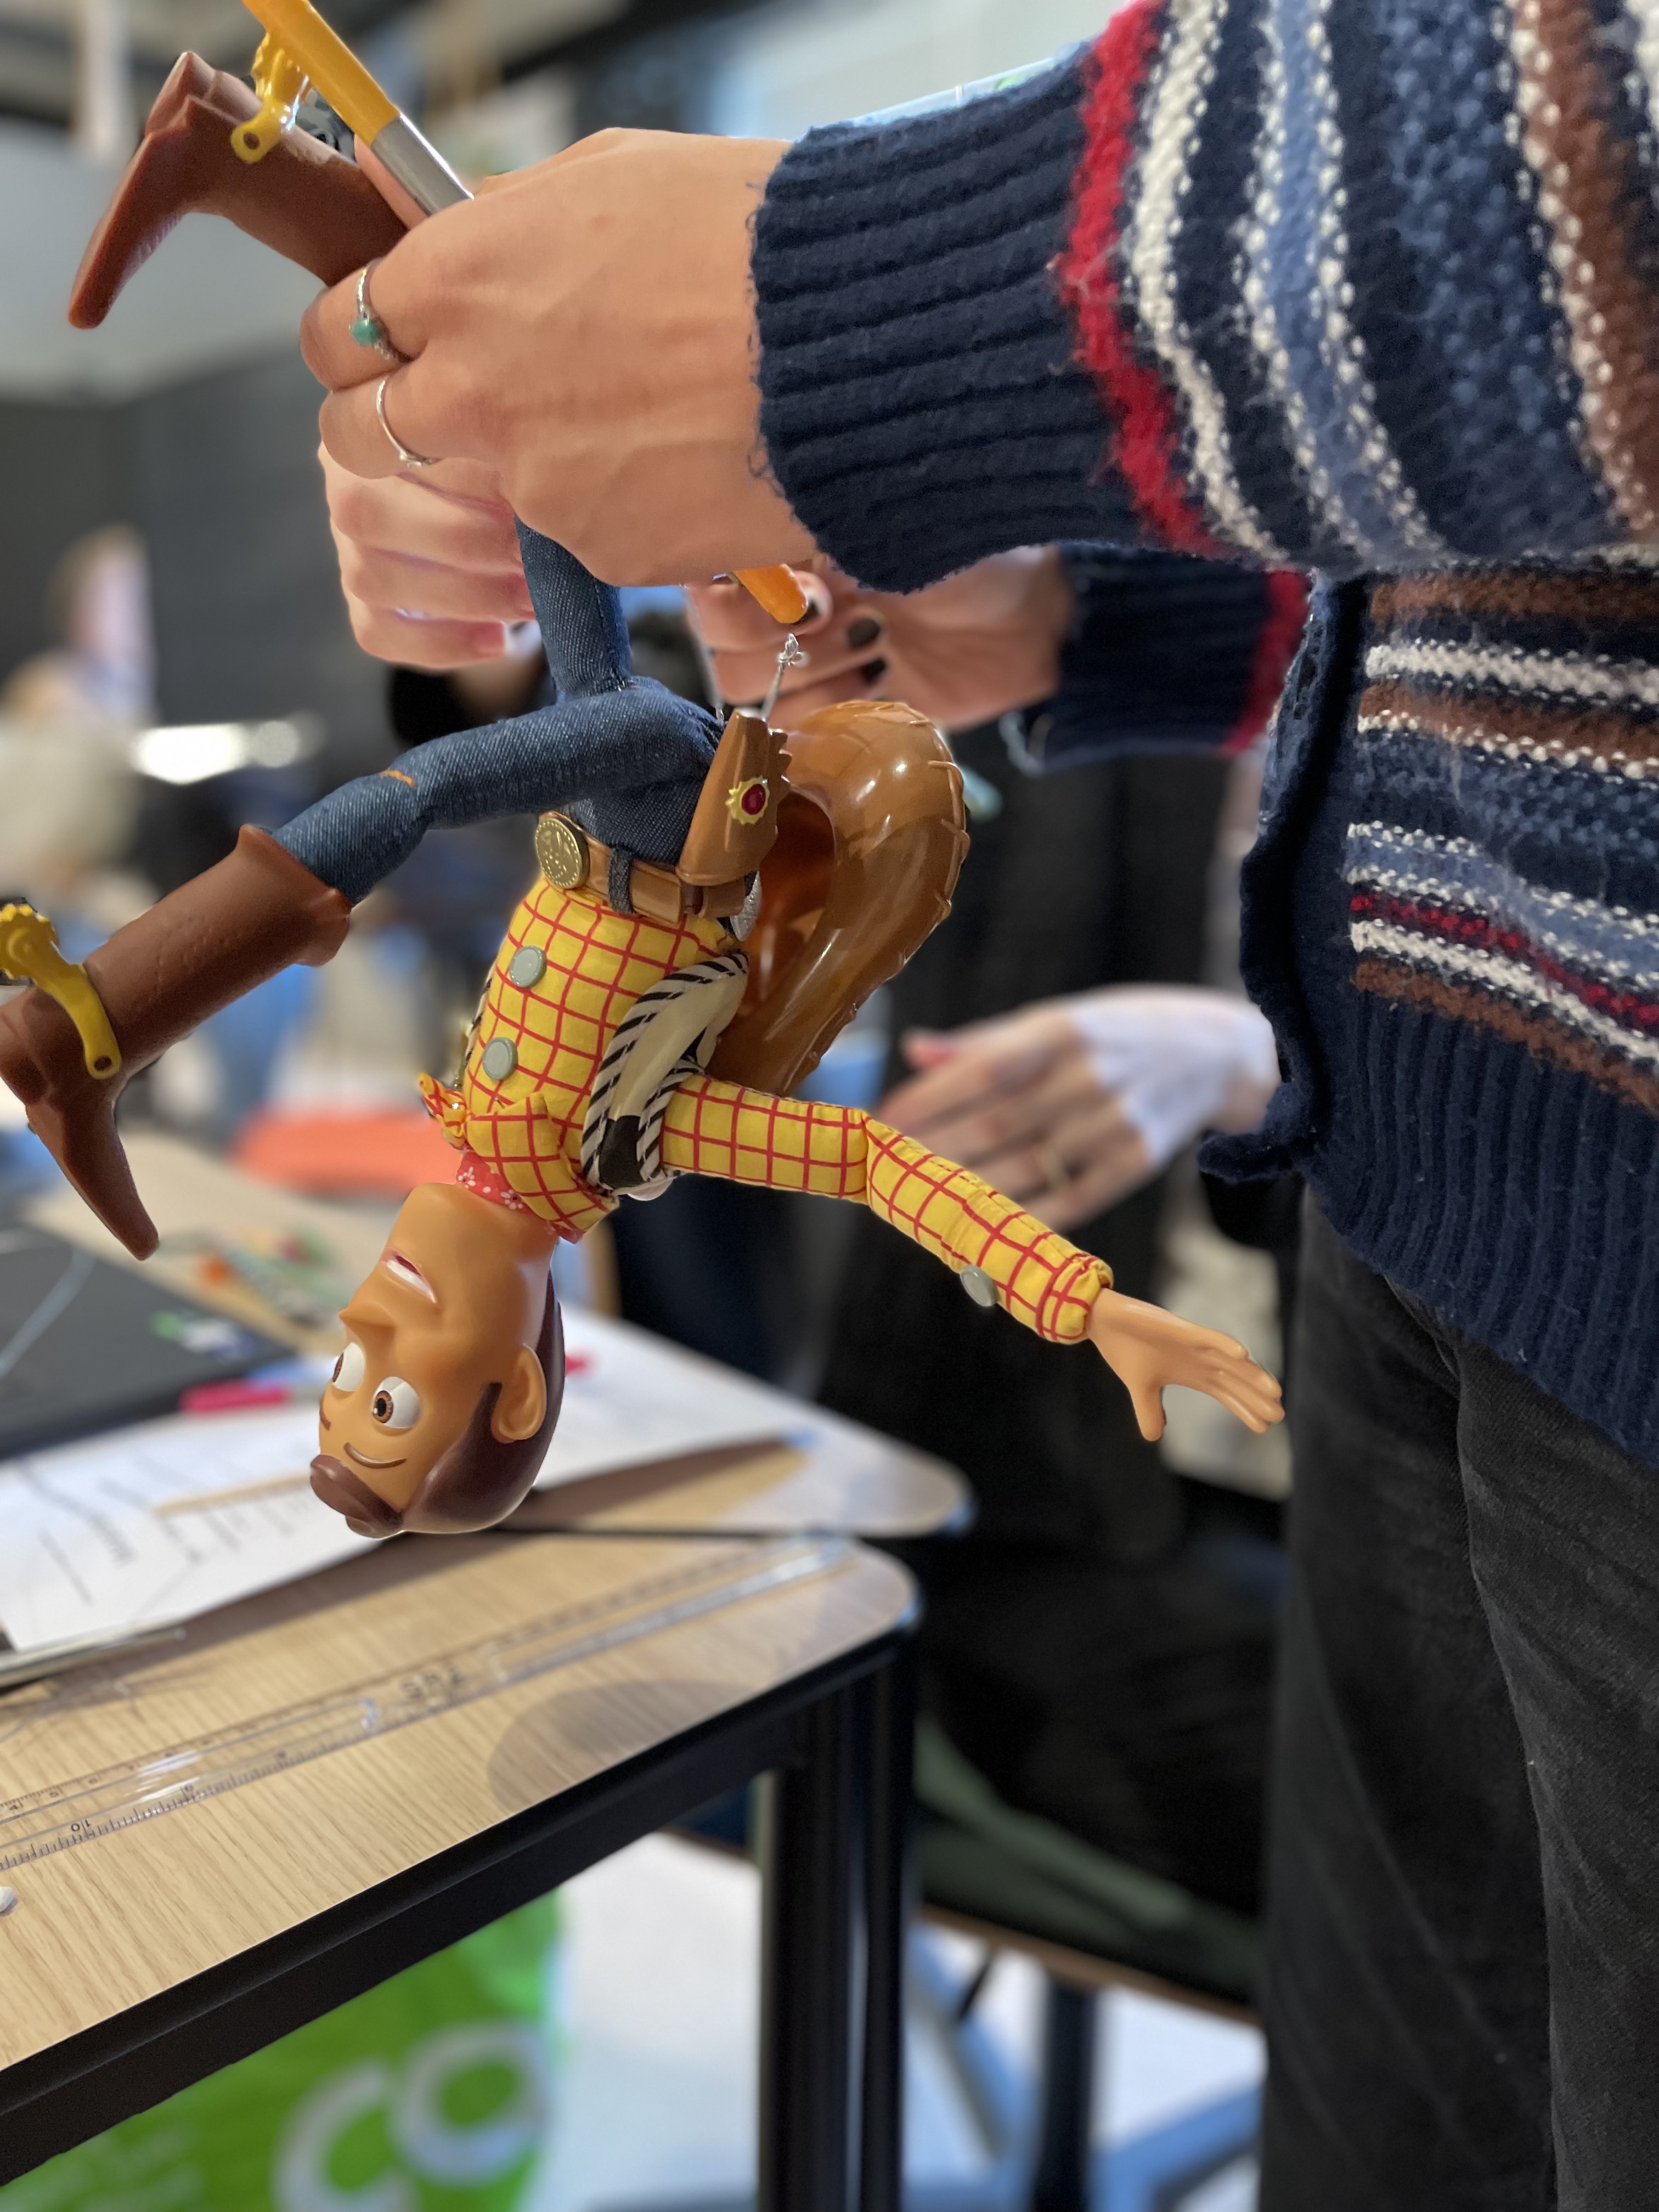
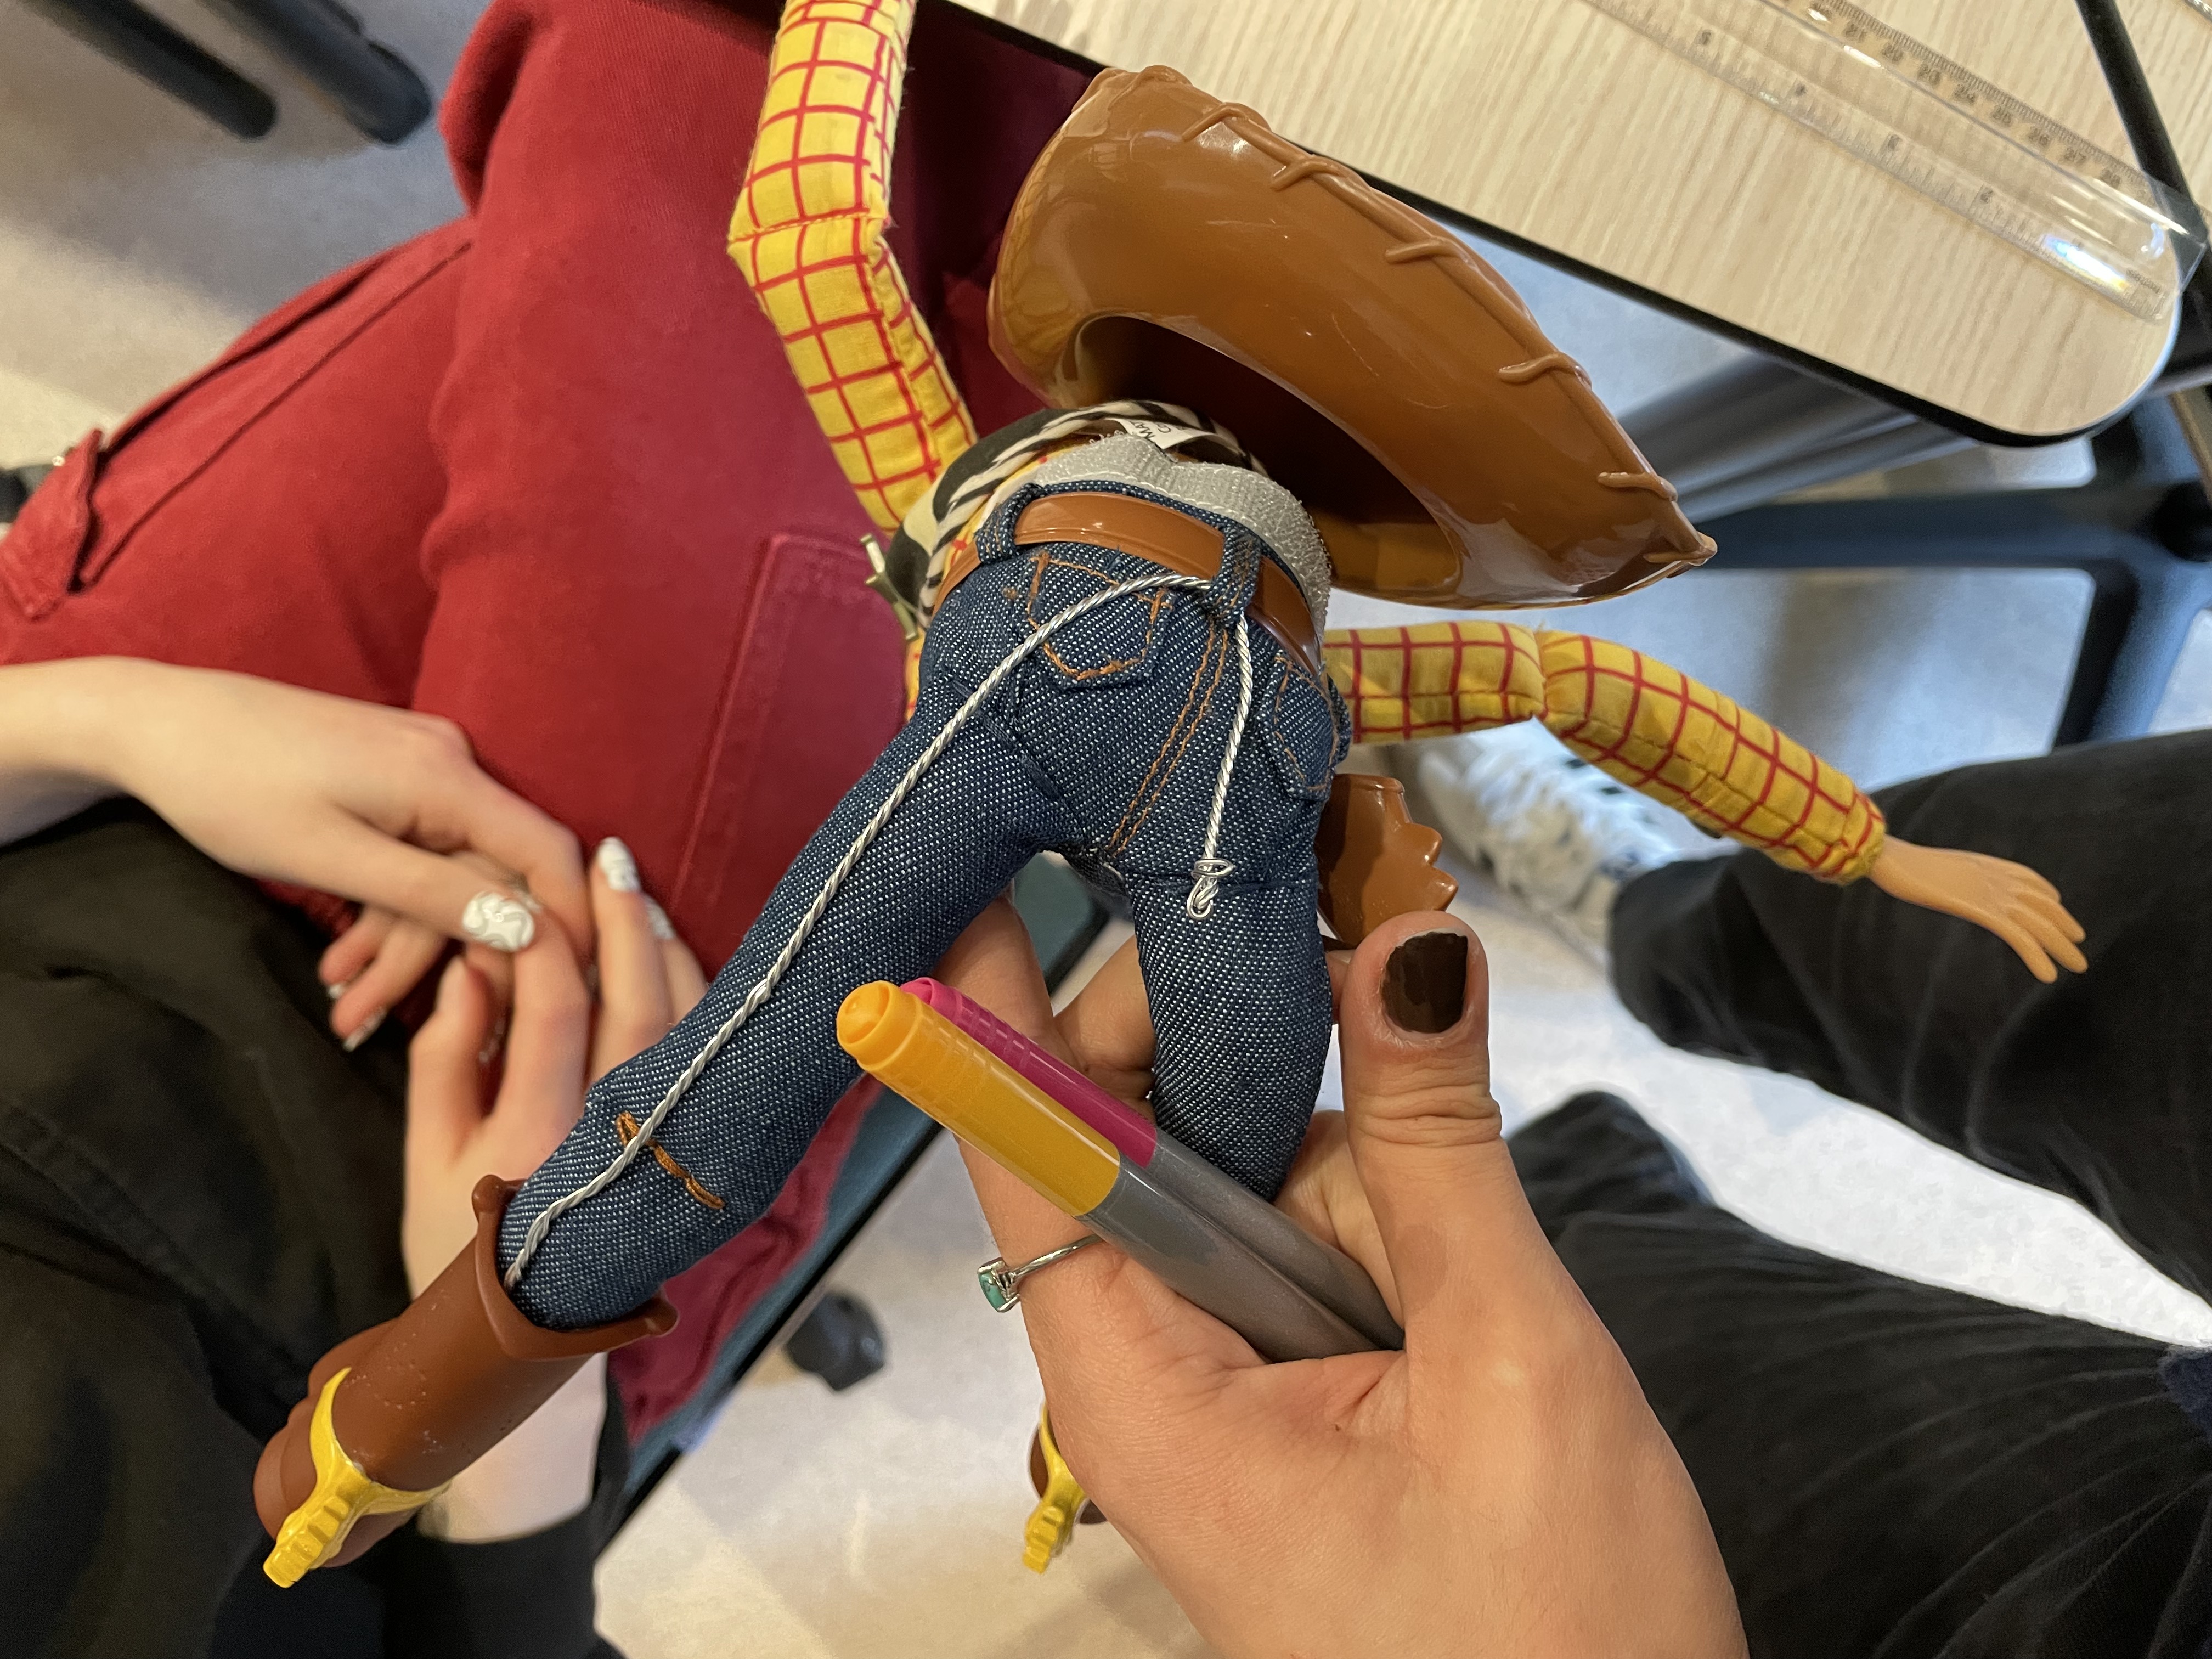
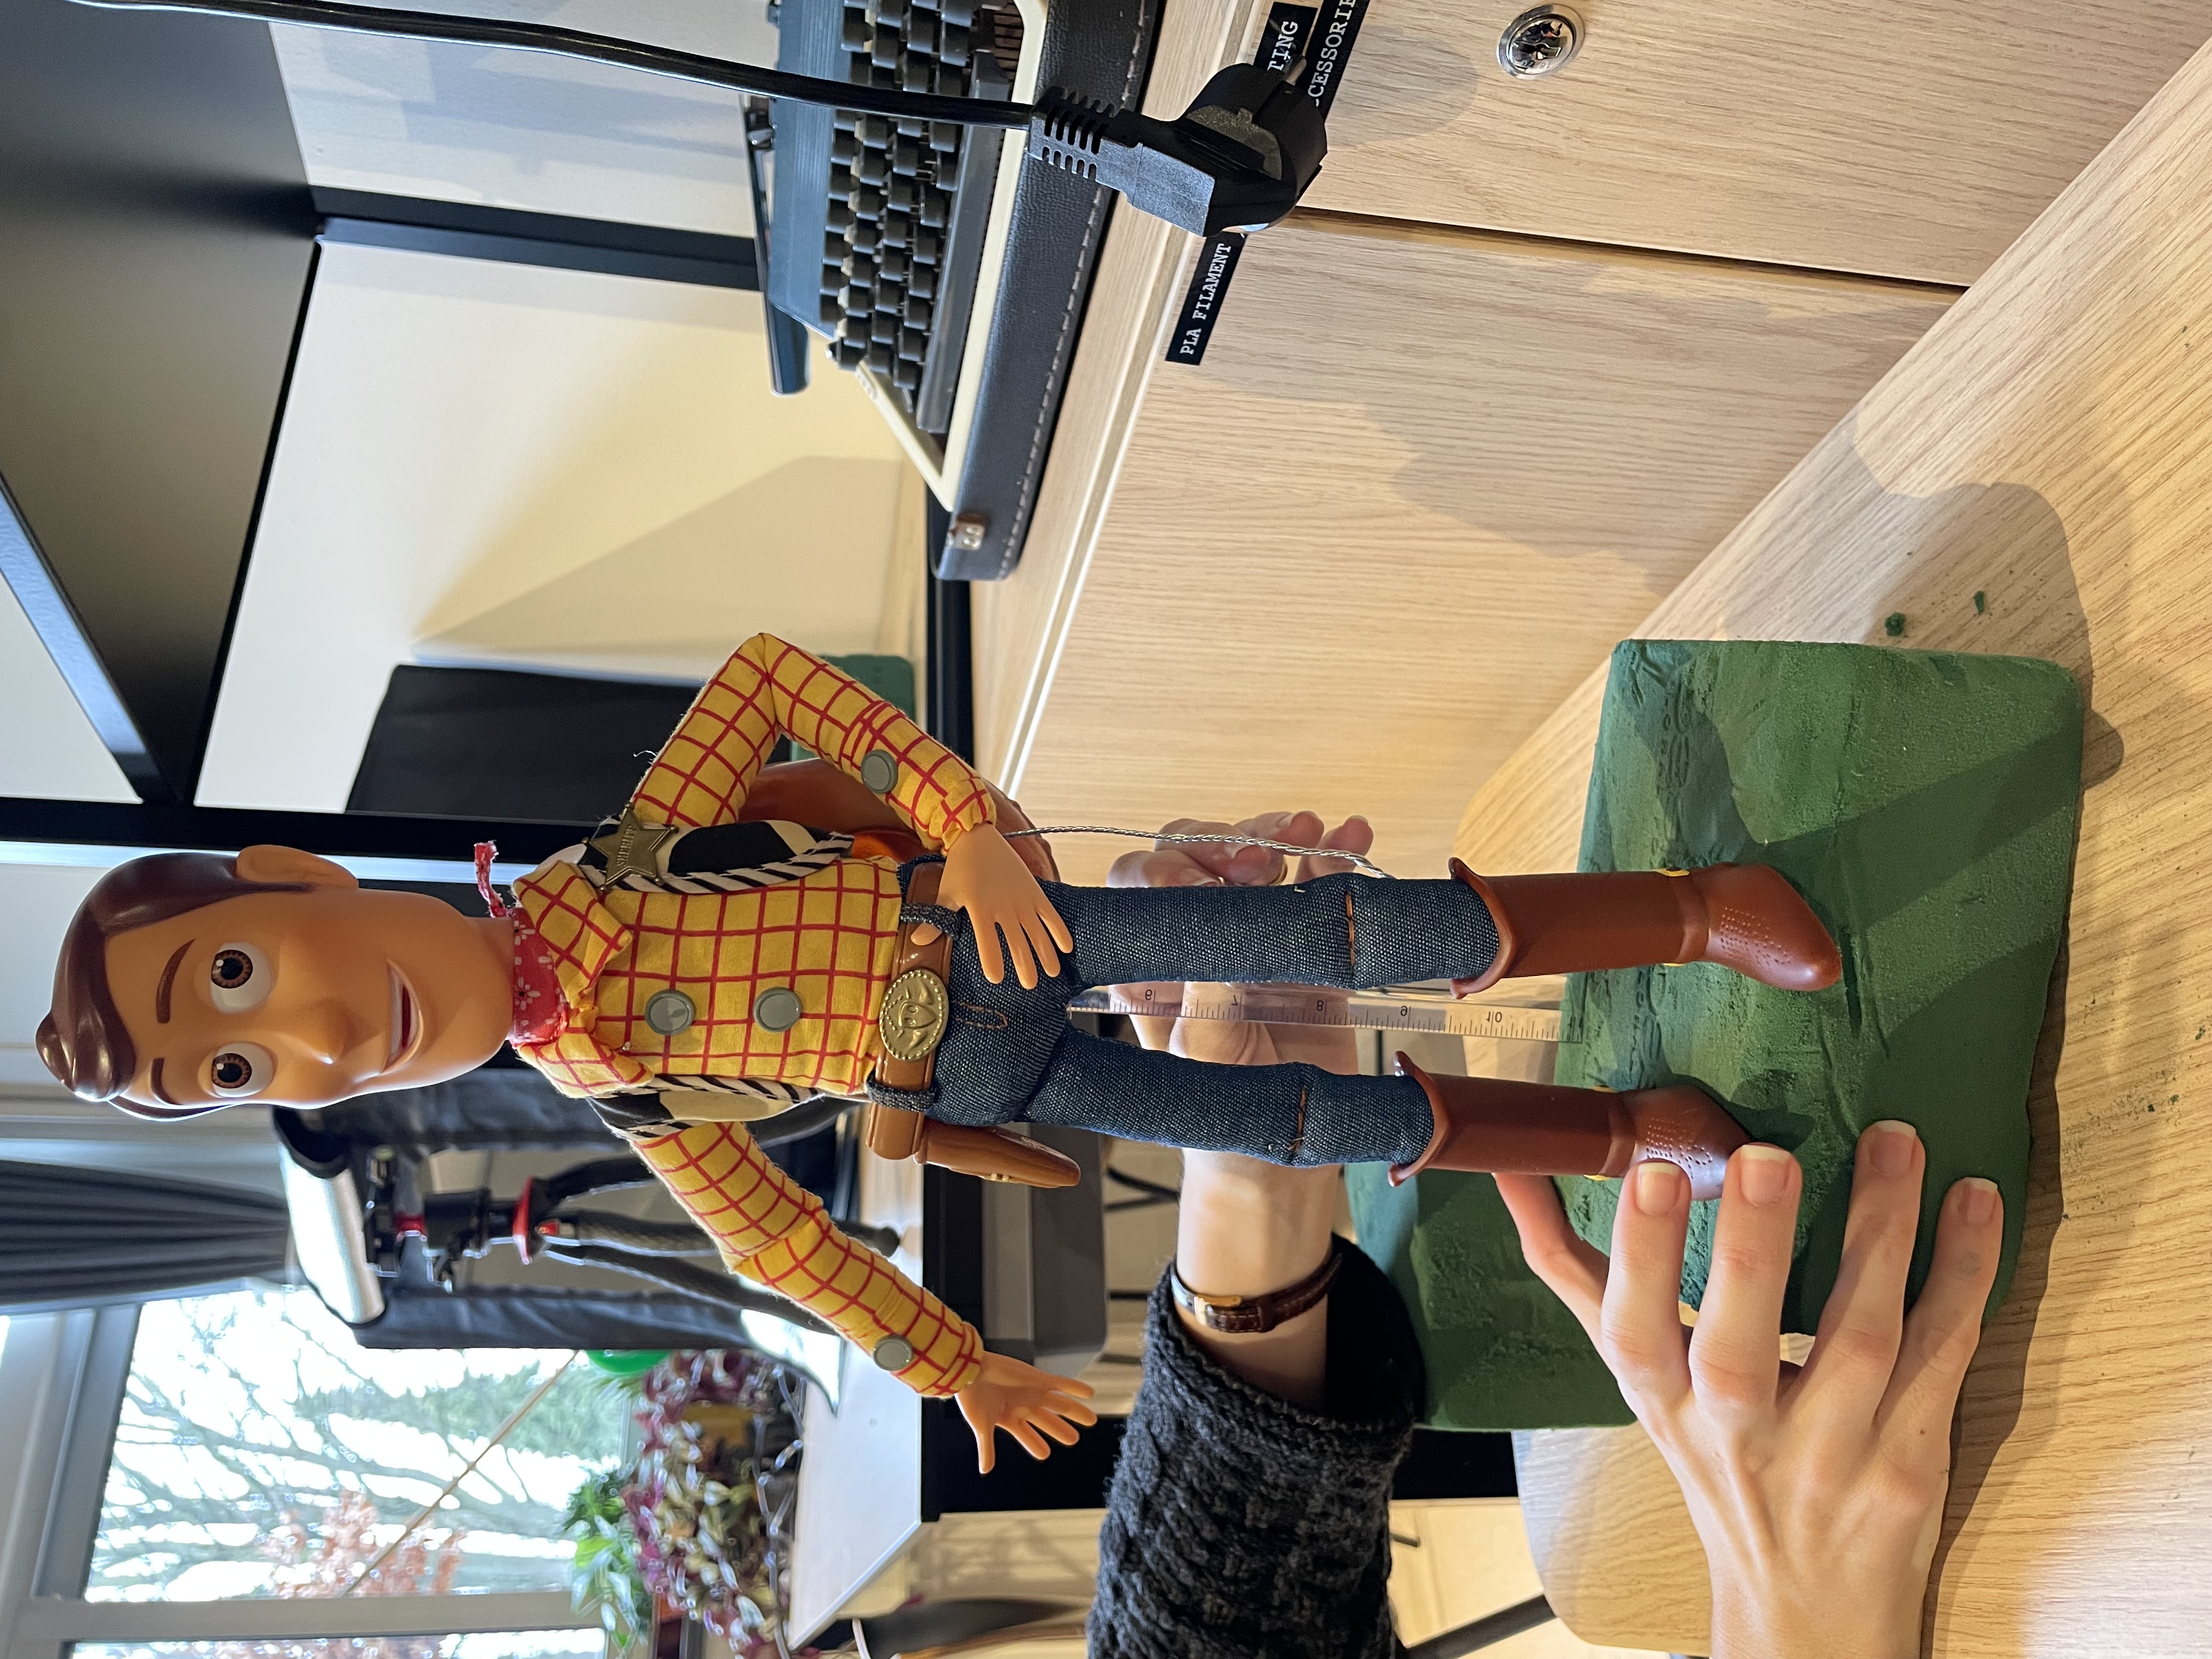
As soon as we began getting Woody ready for the picture, we ran into our first obstacle. Woody is unable to stand or sit on his own. This created a number of complications throughout the procedure. Brainstorming creative solutions to get the toy to stand while also displaying key parts such as the “ANDY” inscription on the bottom of its boot was quite challenging. We attempted to thread a wire through the limbs but failed. We questioned whether it was easier to seat him or make him stand up. After accepting that it would simply not be possible to turn the doll around to take pictures from below without the doll generating too much movement, the solution was to slide a ruler down its back between his cowboy hat and torso and push it into the green Styrofoam. In addition, we positioned his boots to minimize the amount of surface that the green box covers and to reveal the recognizable "Andy" signature. Accordingly, Woody's stance was thoughtfully arranged. after brainstorming several poses, we settled on a classic hands-on-hip power pose. This pose, along with the ruler, gave Woody a lot of stability and was a hurdle that we crossed early in the process. Moreover, the bandana and collar were secured in place in certain places with pins.
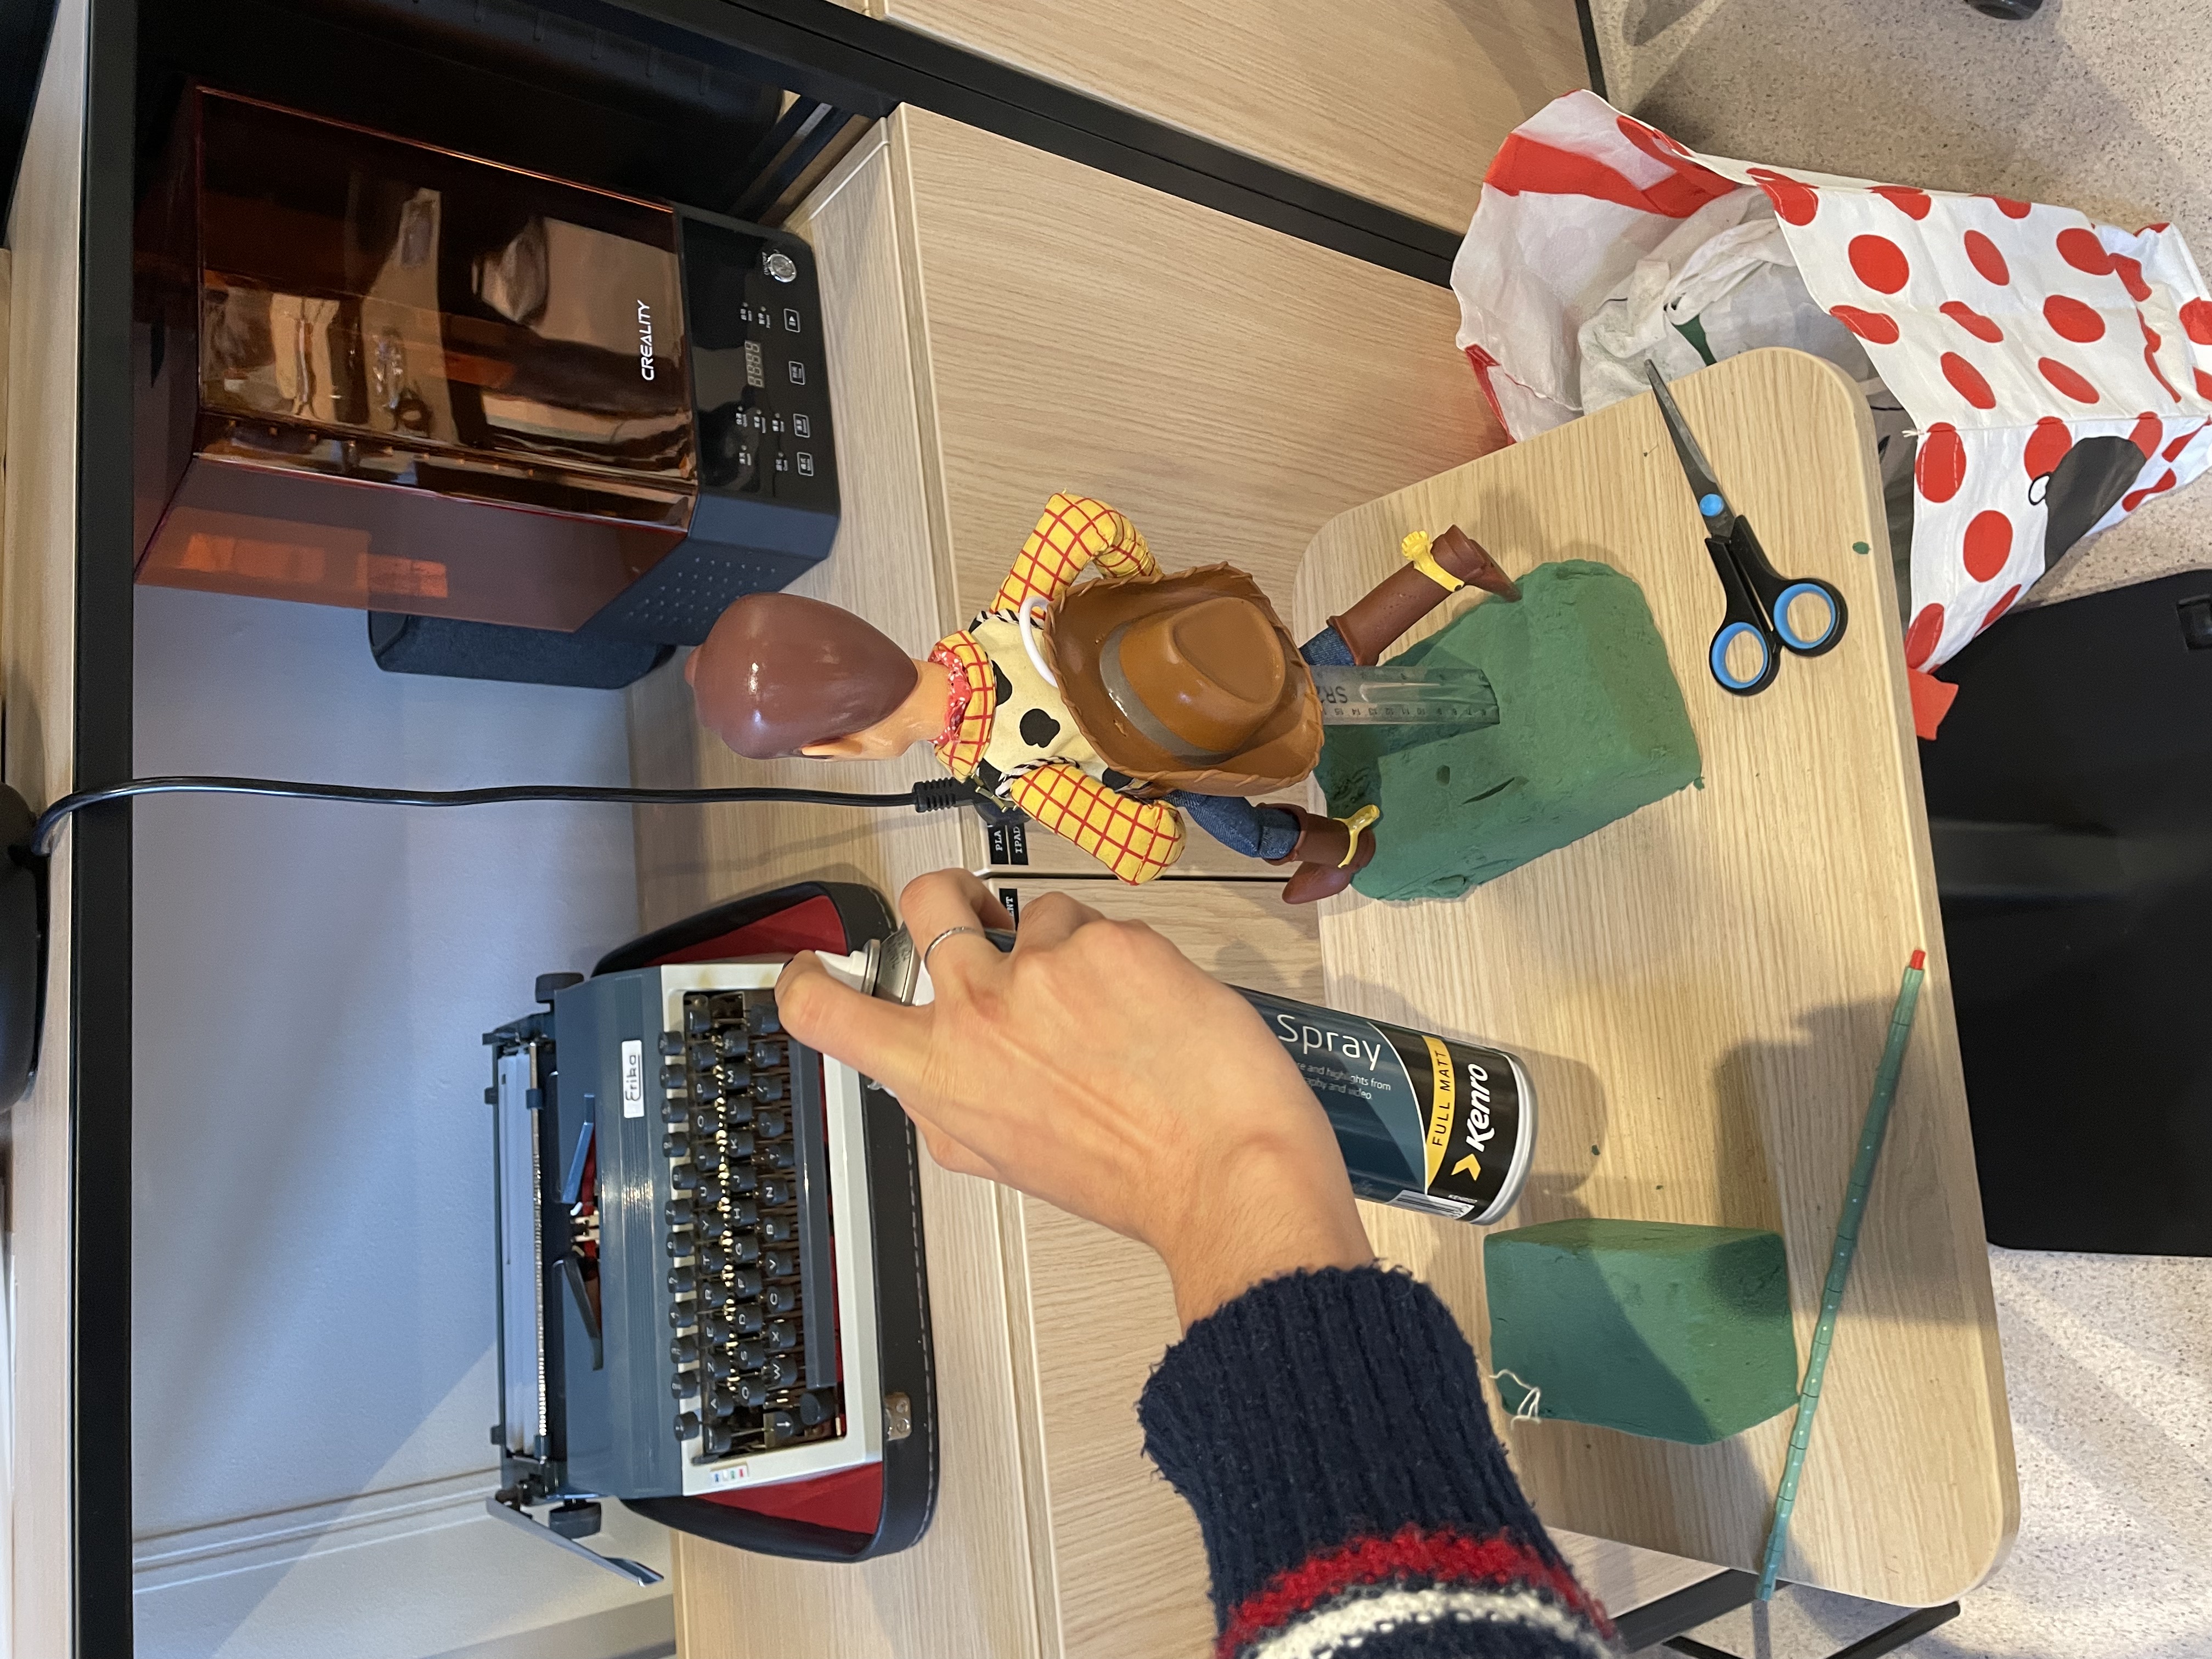
Initially, it appeared that the most difficult task was to maintain Woody's upright position with his lanky body and long limbs. Unfortunately, that was not the case. Keeping in mind that Woody’s hair, face, hat, and boots are quite reflective, we dimmed the lightning so it would not change while moving the toy. To further counteract the reflection, these areas were all sprayed down and dusted with powder. The real challenge, however, turned out to be the smooth plastic surface of Woody’s face.