The basis for our 3D model is photogrammetry. Photogrammetry is defined as “the art, science and technology of obtaining reliable information about physical objects and the environment, through the process of recording, measuring and interpreting imagery” (ASPRS, n.d.). Therefore, it was Key that the images of our object were of fair quality, well illuminated, and that the object remained in the same position for all images.
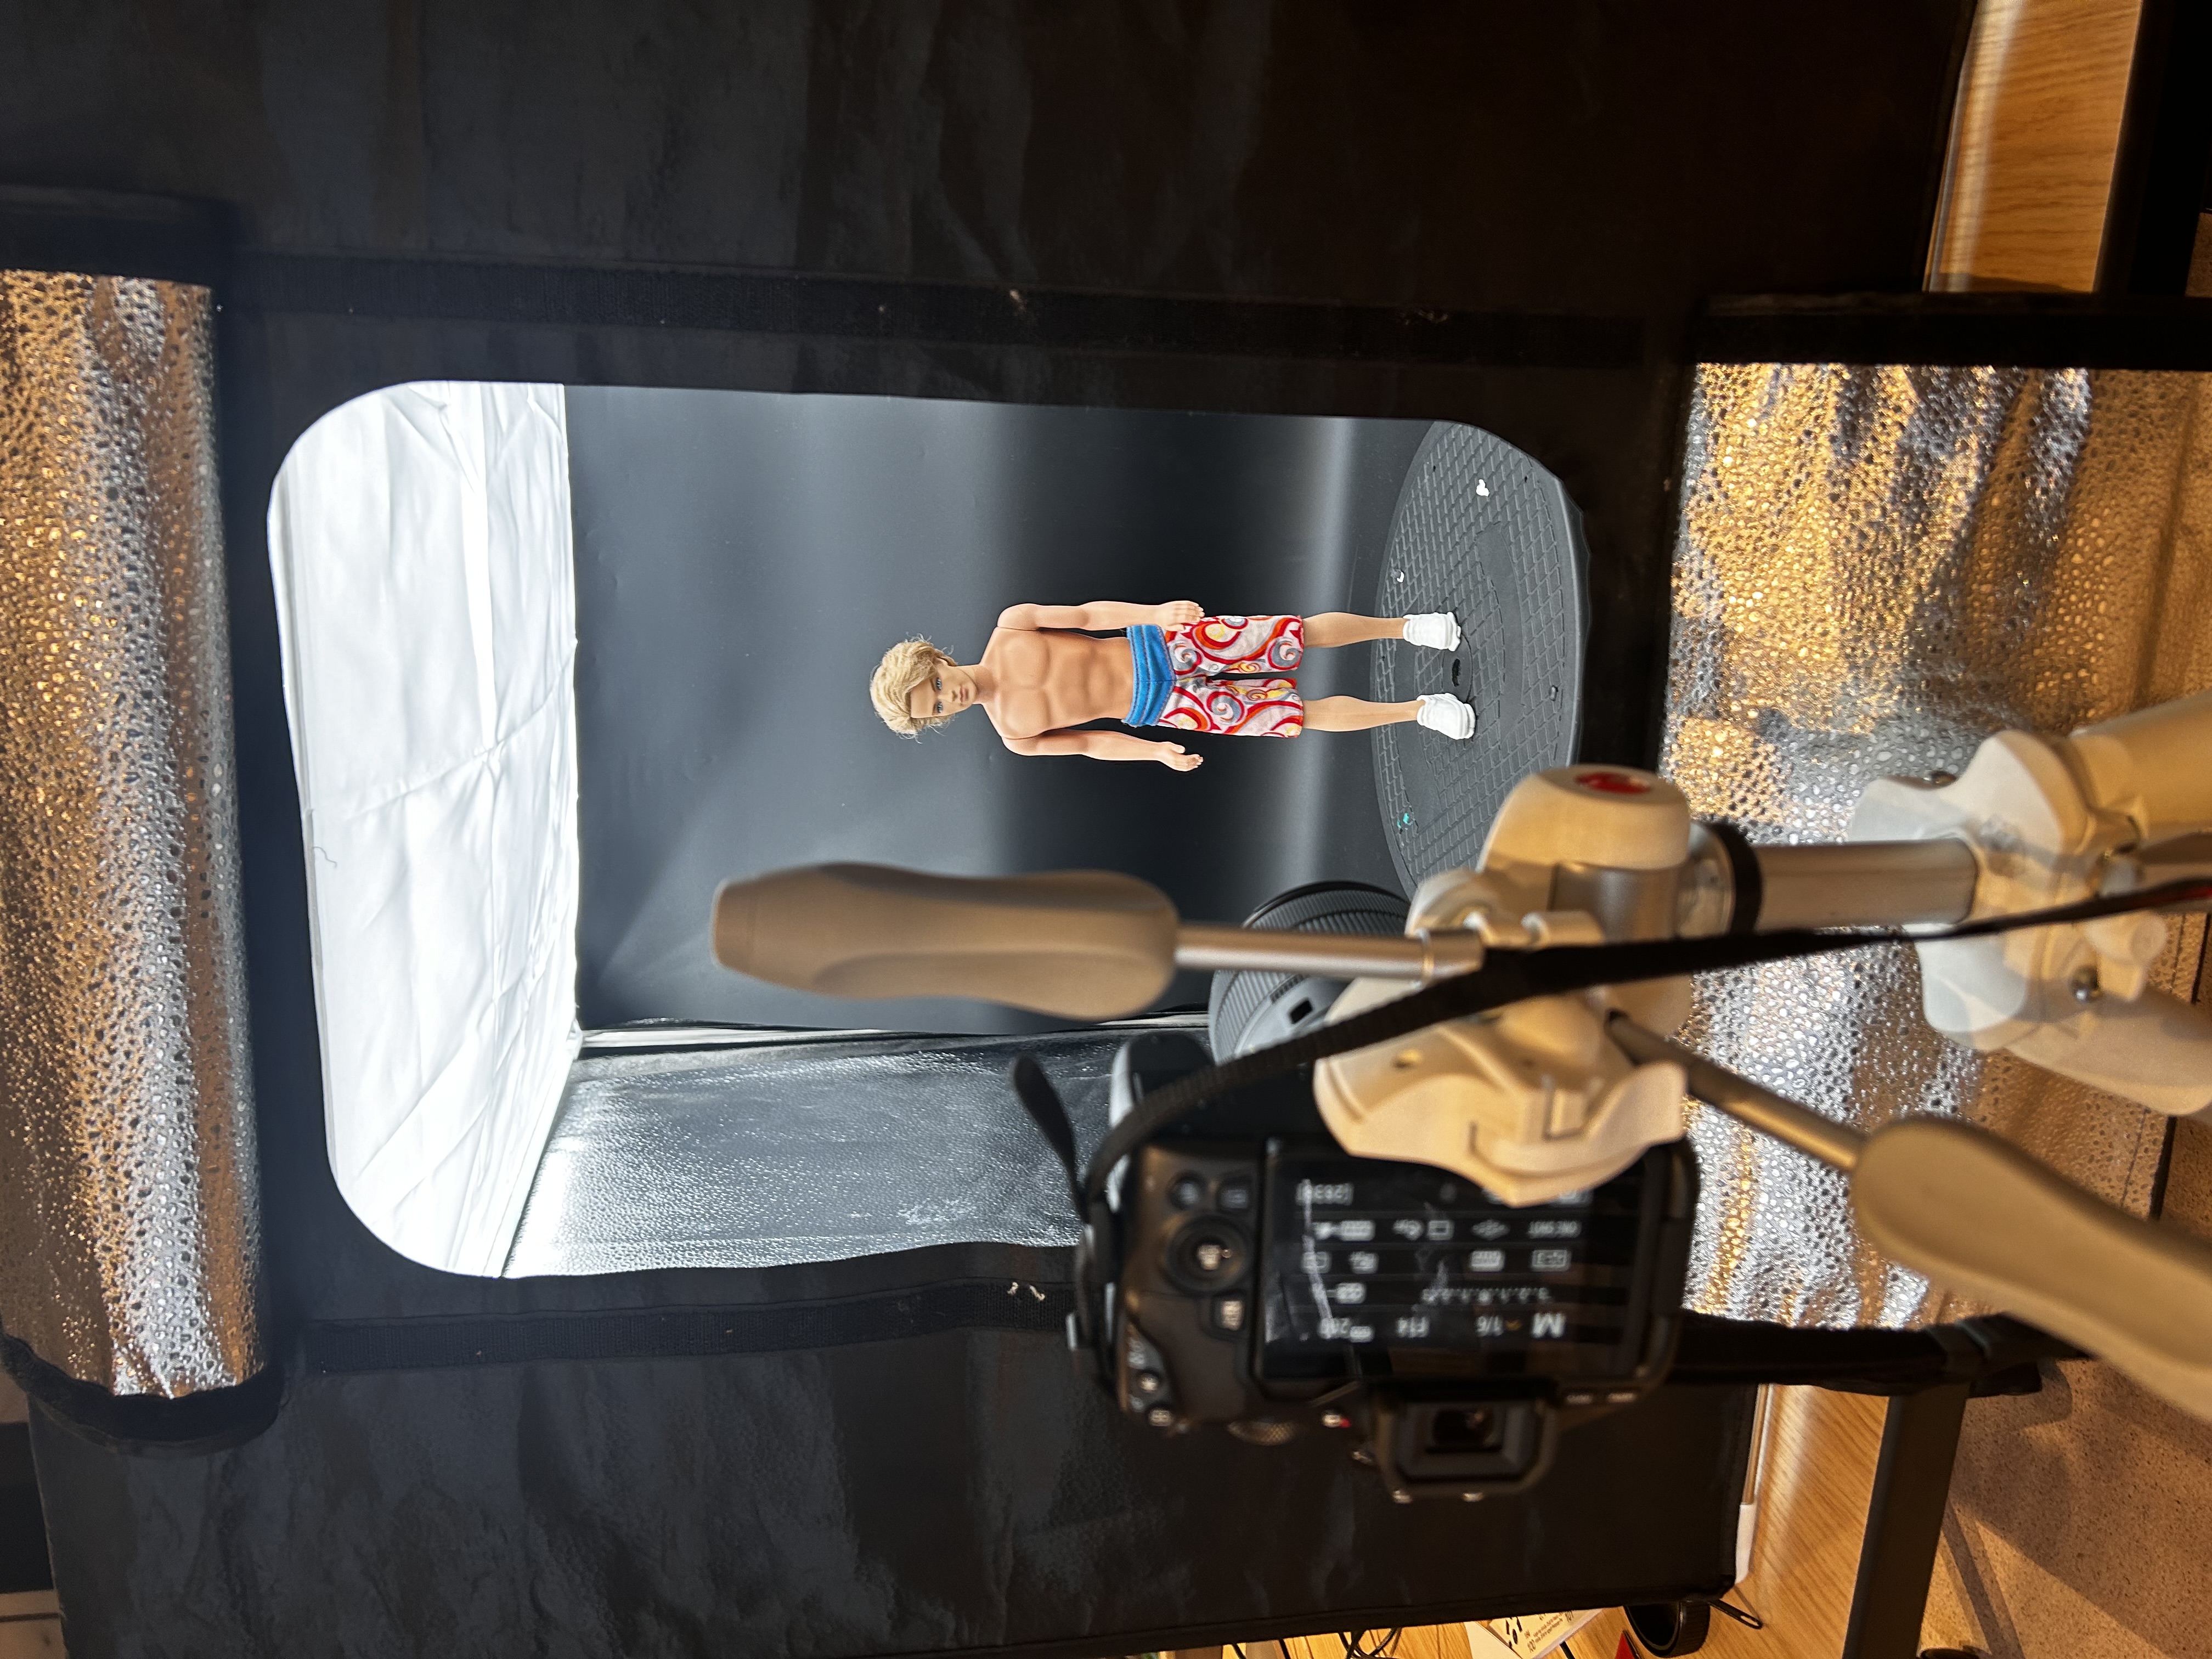
Taking the images of Ken was a critical first step. There were several things we did. First, we set up Ken using props, such as a lazy susan, sticky tack, and flower foam (see images 1 & 2). Although it proved more difficult than initially thought, we managed to make Ken stand both on his legs and on his head.

For this stage we learned a number of basic photography skills. To have the best quality images we used professional digital cameras (provided by the university) that were placed on tripods. Most importantly, we learned how to set the settings of the camera to adapt the exposure time, ISO and F-stop. As such, as soon as we had setup Ken we implemented these ‘rules’ and found the settings that worked best for our object with regards to the luminous
ity of the light box.
We had to go through this process multiple times as we would later find out that Ken was going to need some clothes. Eventually, we also found that turning him around had moved his legs, but we were able to fix as best as possible in Metashape.