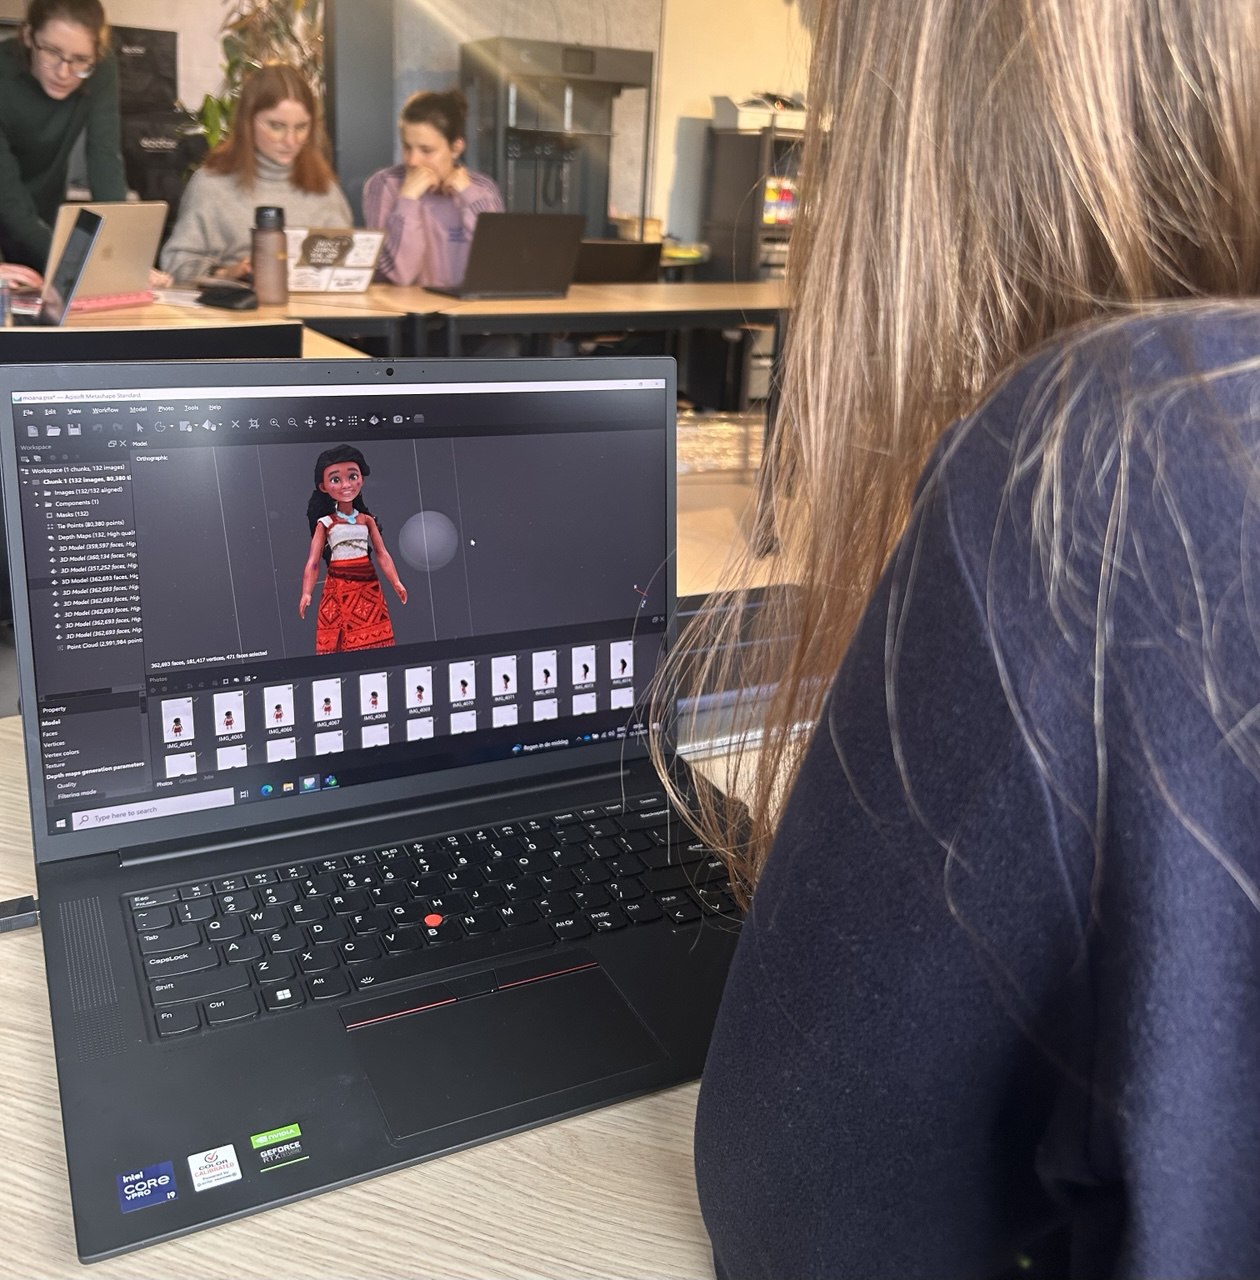
During our processing of the model in Metashape, we followed all the necessary steps: aligning the photos, generating the point cloud, and building the mesh and texture. After completing these, we noticed that the texture under the doll’s arms didn’t look great, and in the areas where her arms were close to the dress, it almost looked like they were part of it.
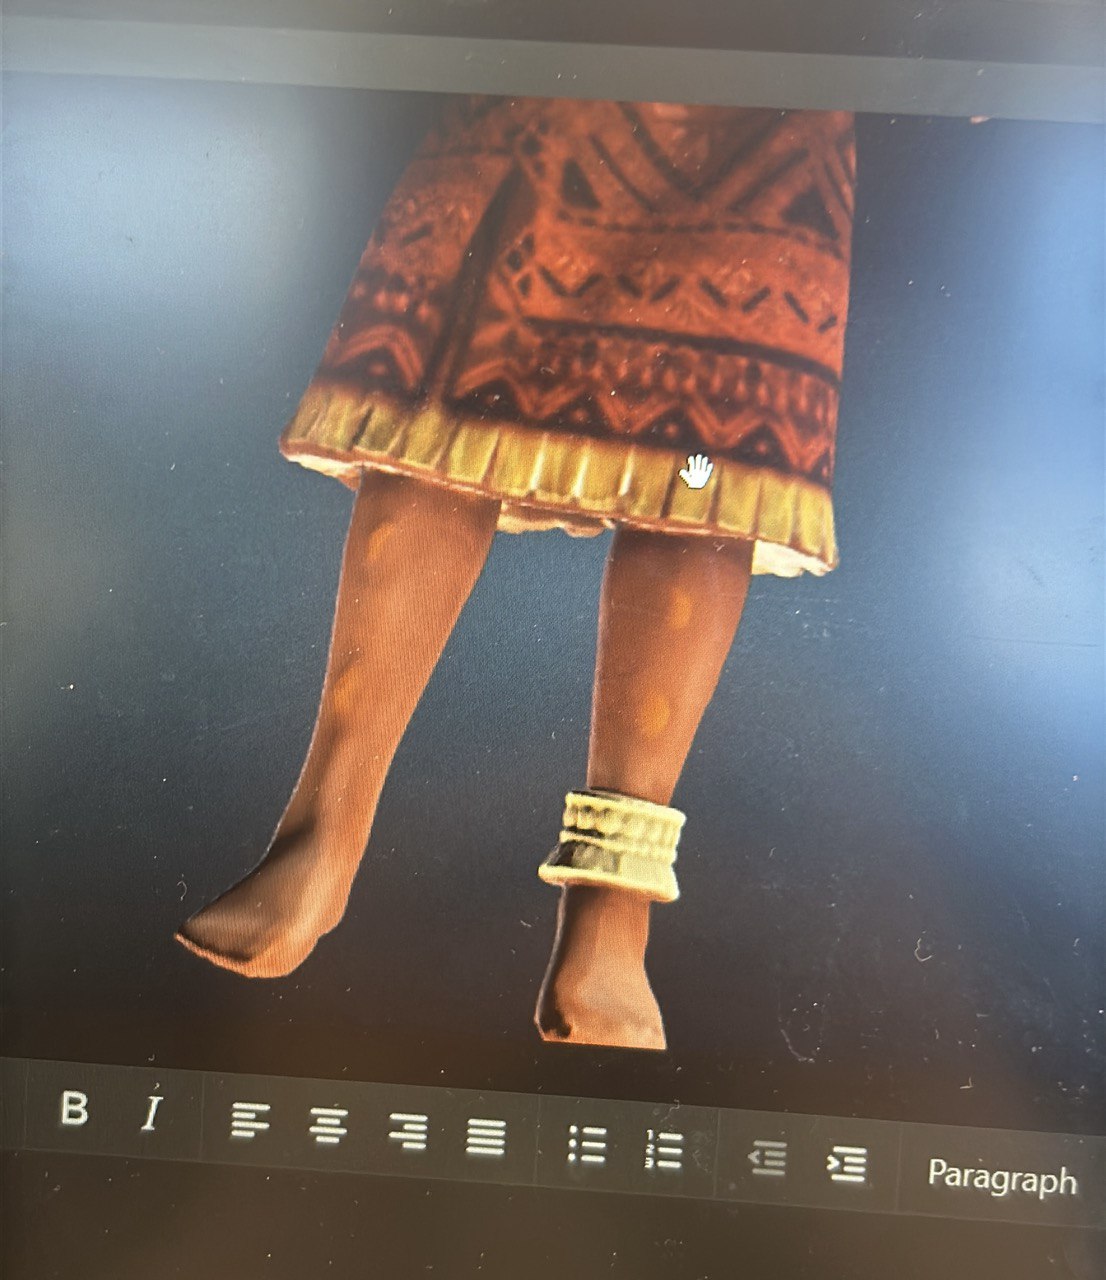
To fix this, we created holes under her arms and then closed them. While closing the holes, the software automatically imported nearby texture and colour, and it looked much better. A similar issue happened with her foot, which had no texture at all, because we hadn’t captured that angle properly during the photoshoot. We used the same method there and later painted the foot in Blender to match the correct skin tone.
At that point, the work in Metashape was finished. It took a bit of trial and error to figure everything out, but overall, it was a clear and manageable process. The more complicated part came after, when we needed to remove the colourful stickers we used earlier to help the software recognise smooth areas. We tried editing the texture in Photoshop, but that didn’t really work, mostly because of the complexity and our limited experience.
So we moved to Blender, a free and open-source 3D software for modelling and texturing. We used the clone tool to copy clean areas over the stickers. That helped with colour, but the stickers left small bumps that were still visible. To fix that, we returned to Metashape, smoothed the areas, and then came back to Blender to repaint them. We also used the clone tool to remove the whiteness left by the powder. Most were fixed, though one under her left arm stayed, even if it looked fine in Blender.
Looking back, the process was not perfect, but we learned quite a lot of softwares and tools before agreeing on the final model to be imported into Voyager.