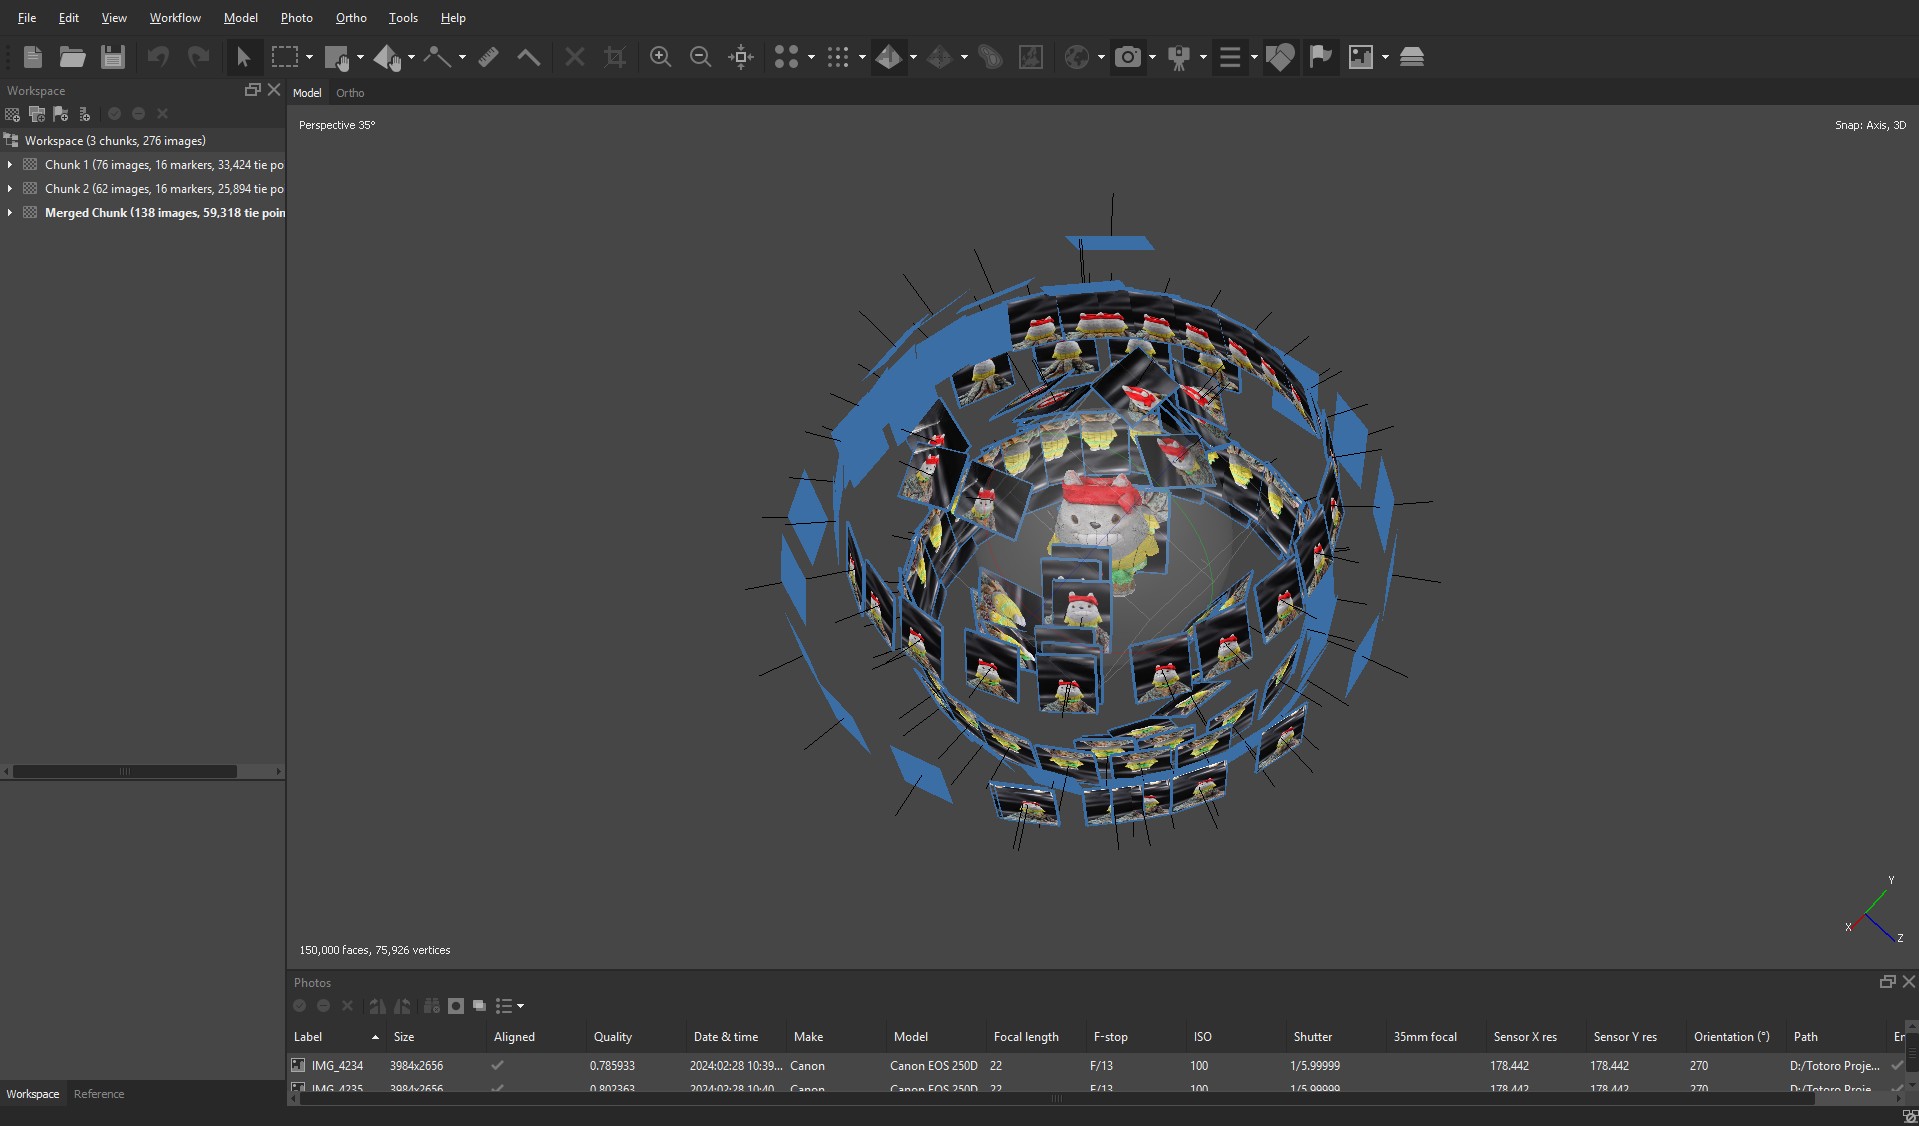
Once we had the photos, the next step was to import them into Agisoft Metashape and generate the 3D model. This is a rather lengthy process that requires trial and error. The first step was creating masks to remove everything that wasn’t part of the model. Then, the software generated a point cloud, which is a collection of all the points the software recognizes as part of the object. Finally, the model and texture were generated, producing a result close to the final version.
In our case, this process was done twice: once for each side of Totoro: one without its feet and one upside down. The two halves then had to be aligned to create a single model. This alignment stage was by far the most time-consuming. The software struggled to recognize the two models as parts of a single object, so to align the top and bottom halves of Totoro, I had to manually place about 25 markers on both models to help the software understand which parts matched between them.
Once the final model was generated, additional issues emerged. The top of Totoro’s head had holes due to the bandana, which had covered certain areas in the photos. Similarly, Totoro’s hands lacked detail—since they were only captured while the plush was upside down, the software struggled to fully reconstruct them.
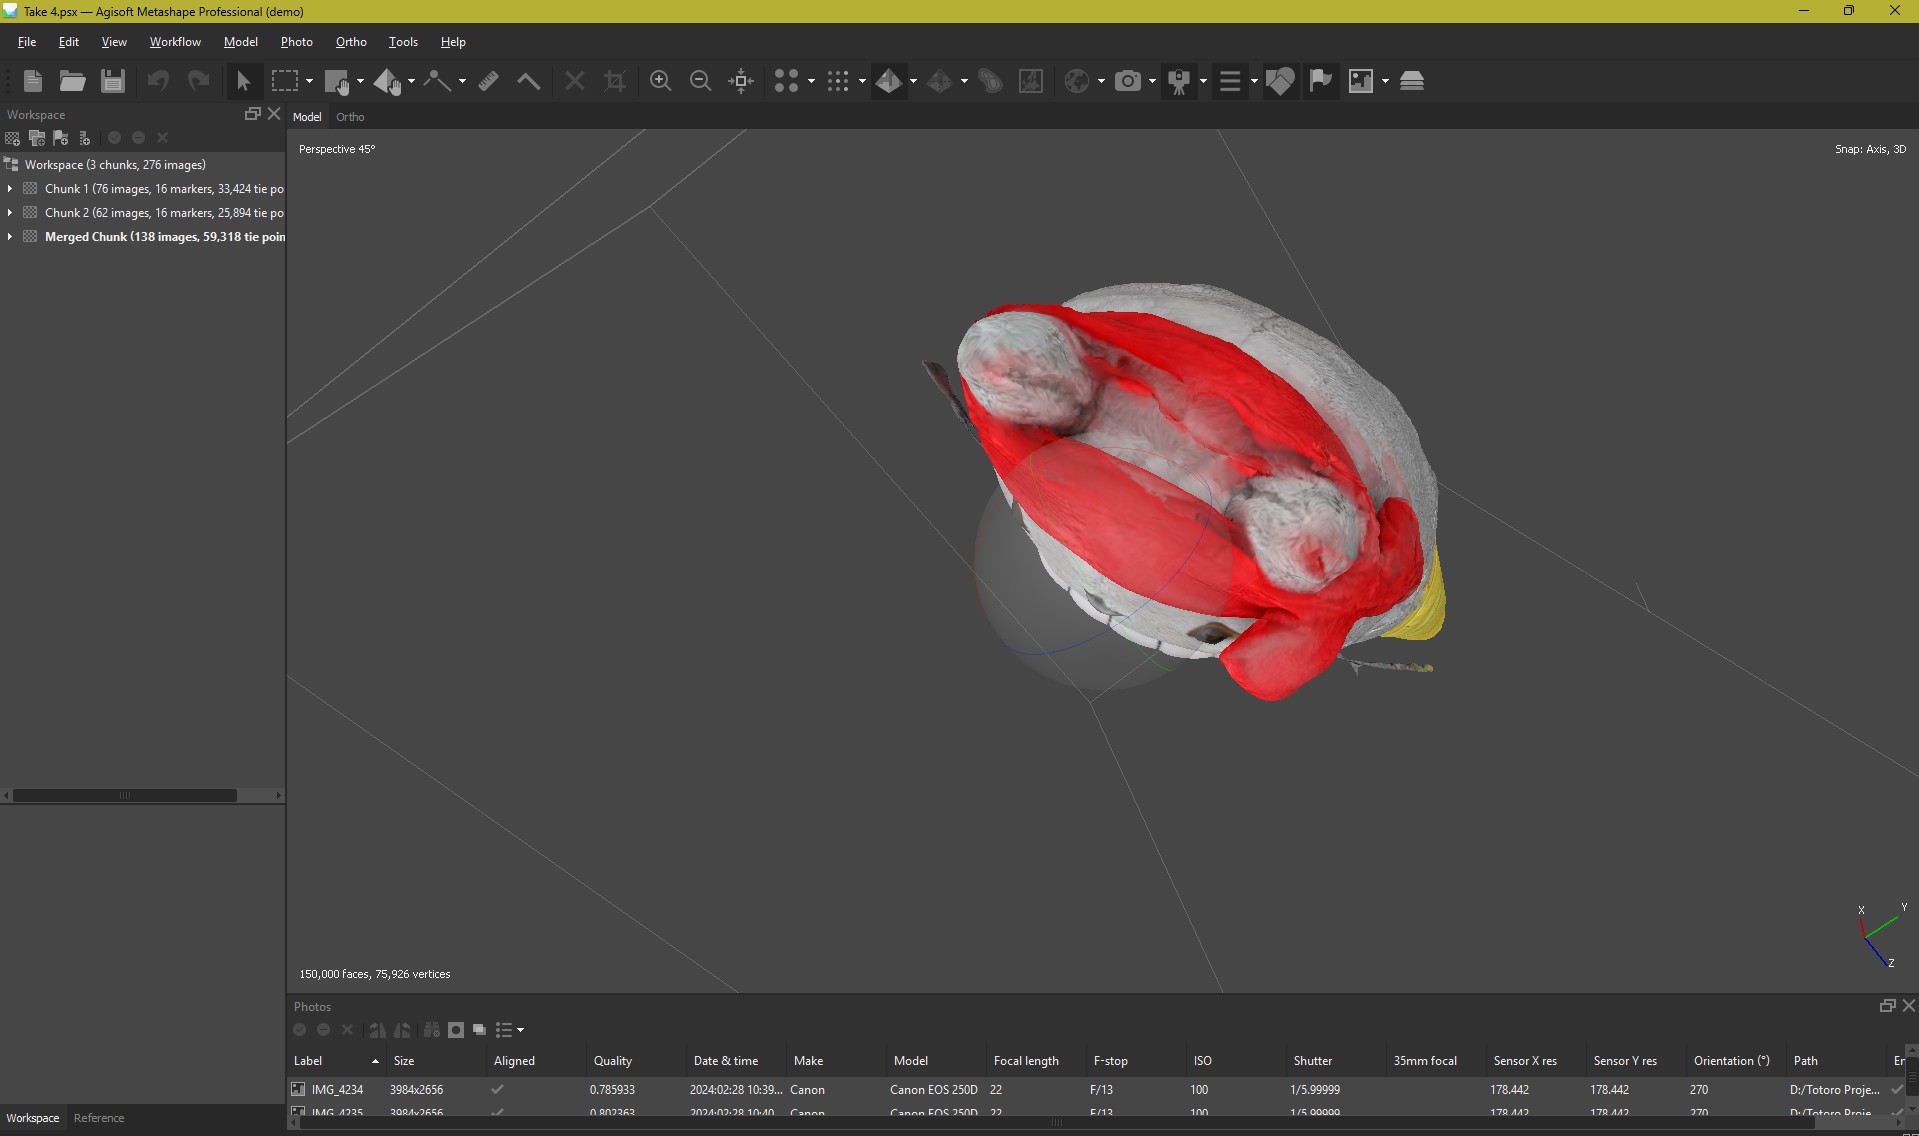
However, the most challenging issue to fix was something else: the generation of incorrect colors on the model. Due to the limited details recognized by the software in the head and ear areas, a color overlay issue occurred. Totoro’s ears, originally gray, turned red, along with other parts of the head.
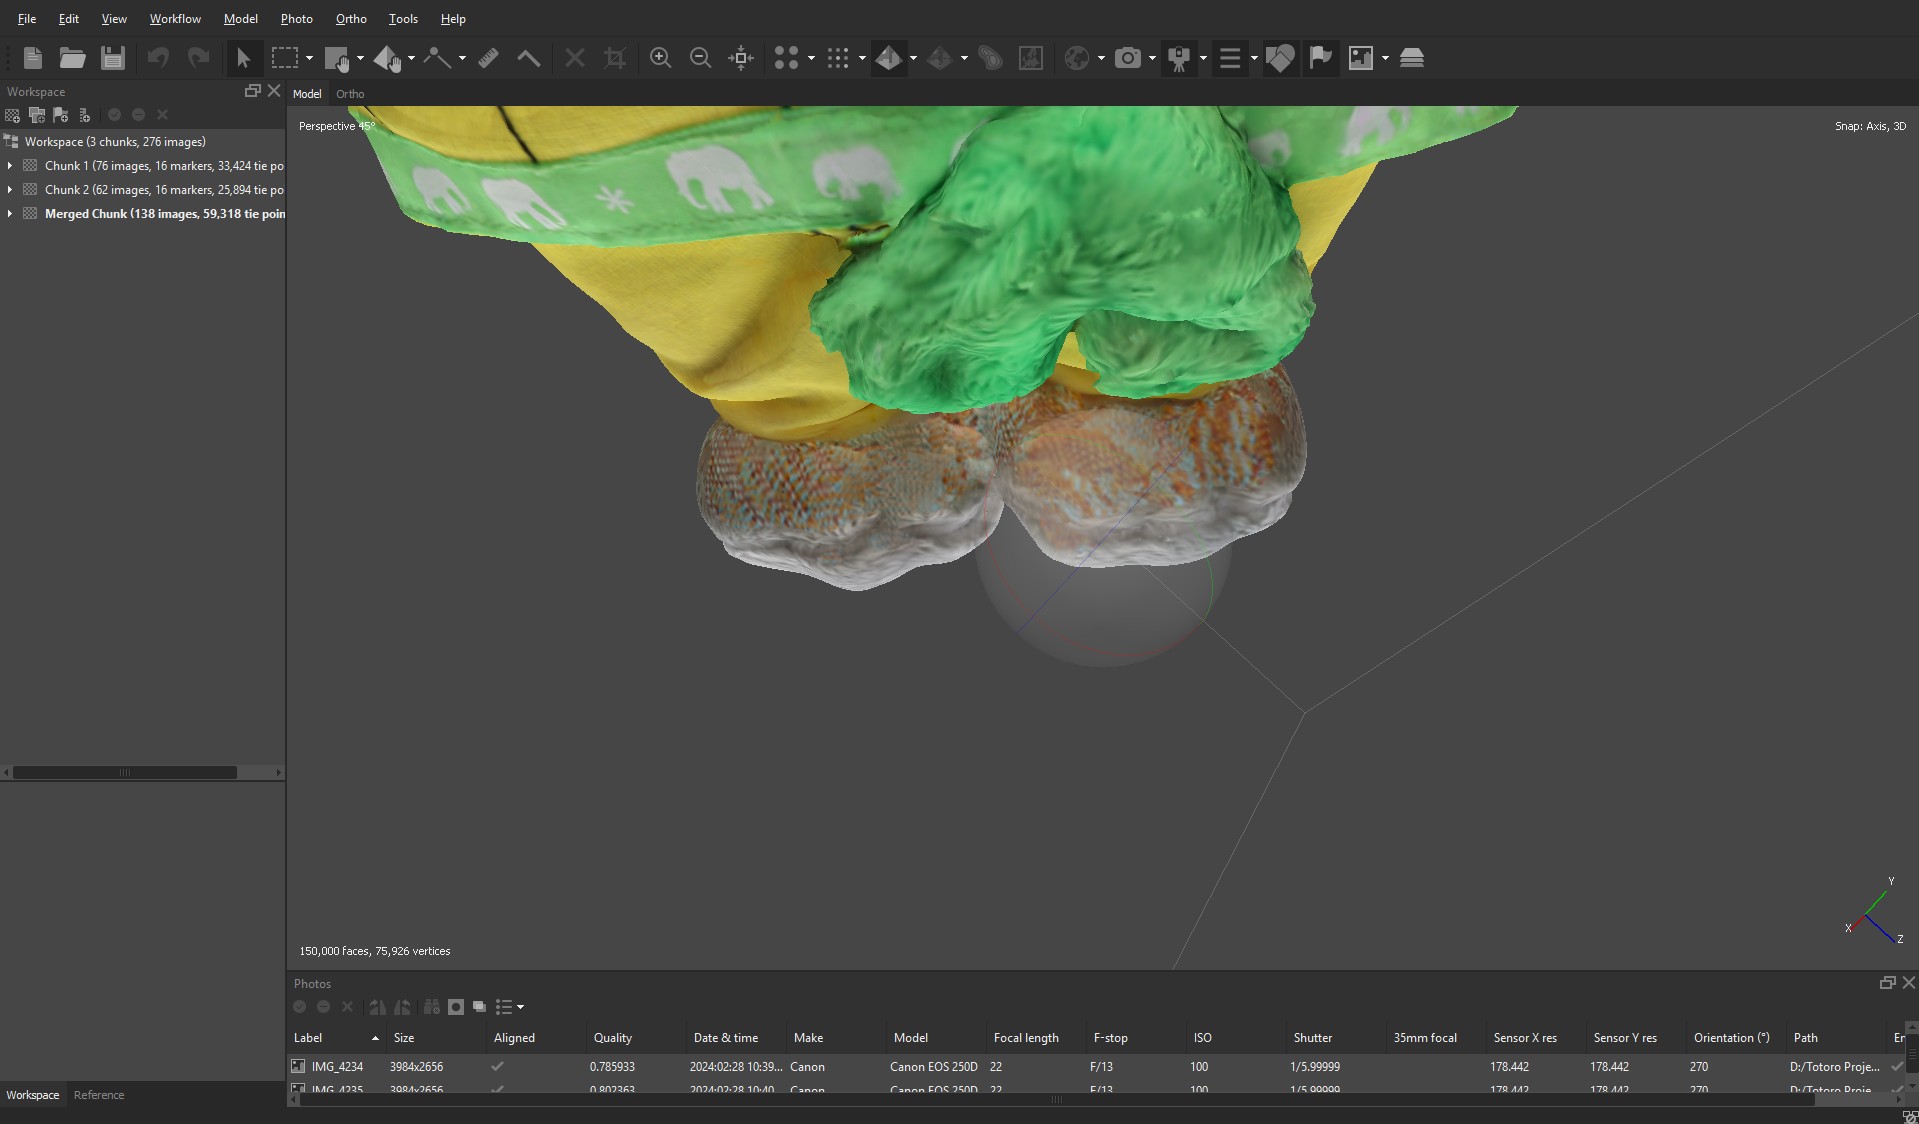
In addition to this, Totoro’s feet also had an unusual color. When merging the two models, one of Totoro upright and the other upside down, the software somehow recognized the scarf we had used to cover the vase as Totoro’s feet. As a result, it applied the same pattern from the scarf onto Totoro’s feet.