To fully understand all the steps that led to Totoro’s digitization, we first need to introduce our project. This outcome is the result of the Creating Digital Collections course within the Media Studies: Digital Cultures master’s program at the FASoS department of Maastricht University. The goal was to present a selection of toys, choose the best ones, and then work in pairs to digitize a toy and import it into Voyager to create interactive and informative tours.
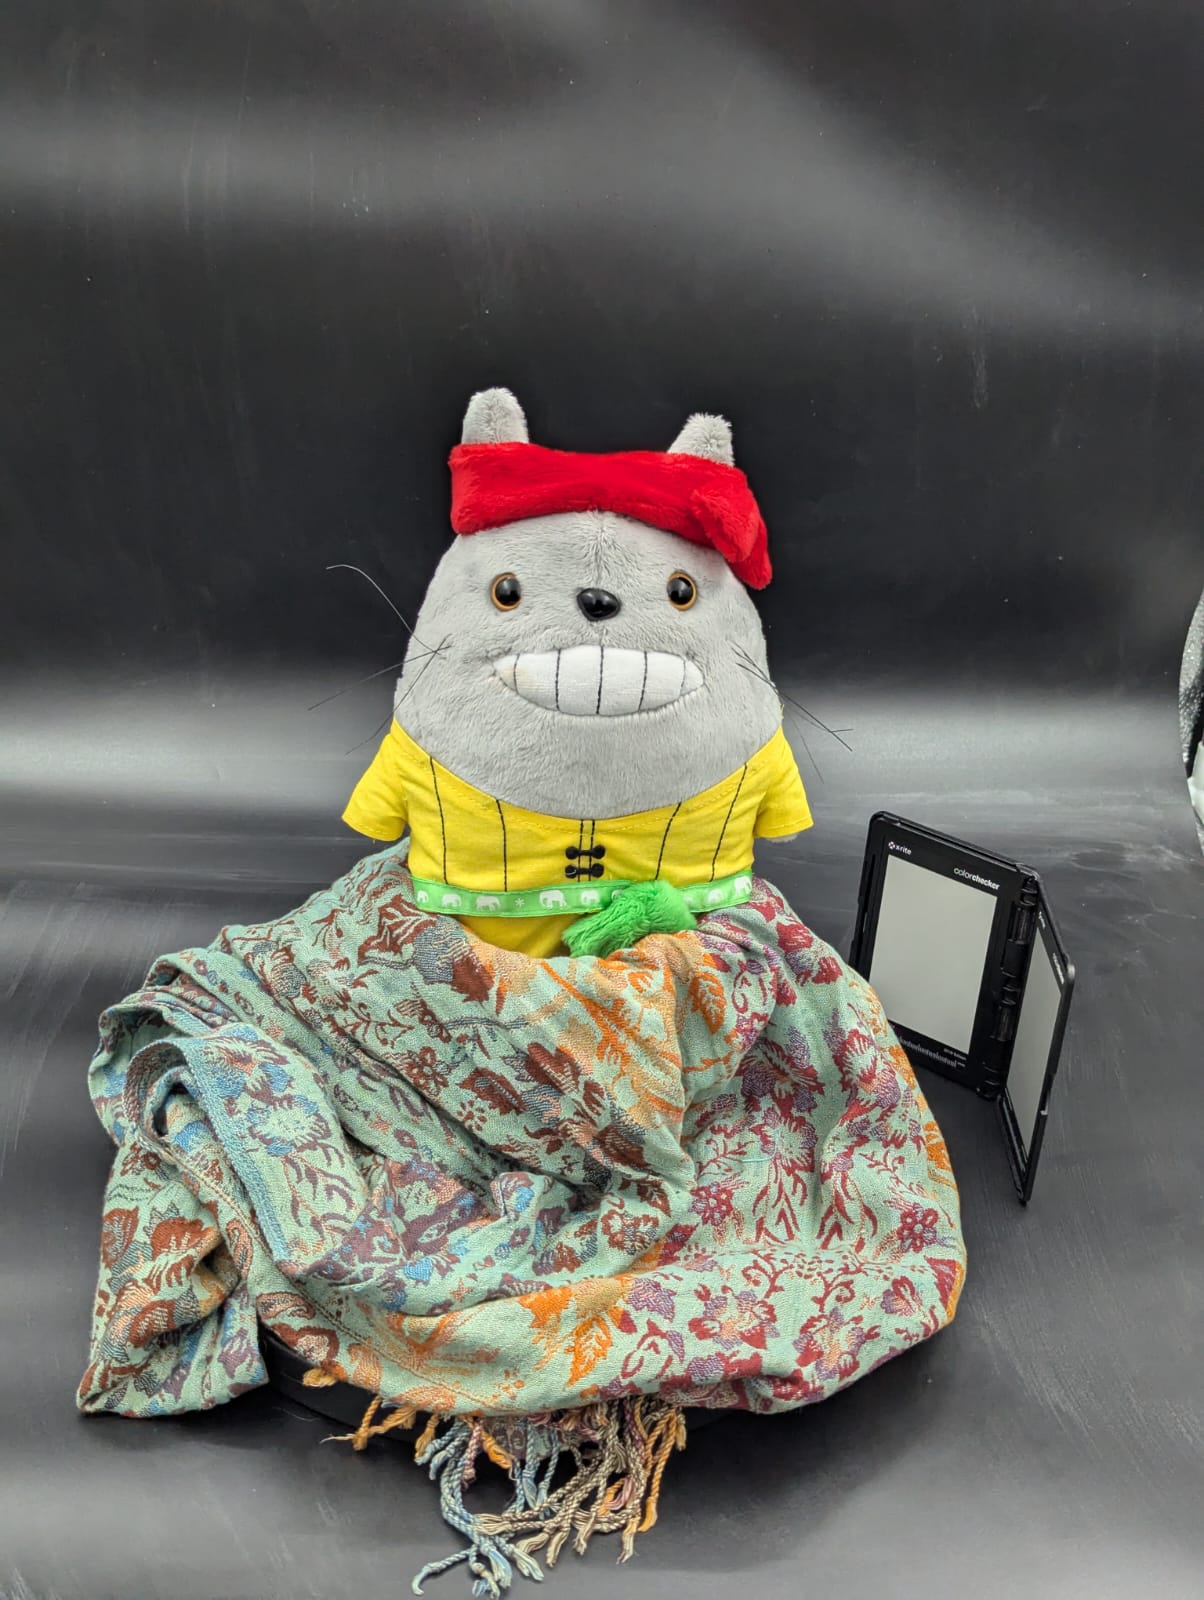
Once we selected our toy, a Totoro plush dressed in traditional Dai clothing, we proceeded with the digitization process using photogrammetry. We imported the photos into Agisoft Metashape and processed them to create a 3D model. This model would then be transferred to Voyager, where articles, media, and notes could be added to craft customized tours.
Simple and straightforward, right? Not exactly. Every step came with its own challenges and delays, and only after a lot of effort and patience did we achieve a satisfying final result. But let’s go back and retrace each stage, starting with photogrammetry.
To obtain the 3D model of our Totoro, we used photogrammetry, a relatively simple and fast method for creating a 3D model. The process involves taking multiple photos from every possible angle to capture every detail of the object. The photos must be taken with consistent zoom and camera settings, and the lighting and shadows should remain the same to avoid confusing the 3D processing software.
It’s also important to consider that certain materials, especially reflective ones, can be difficult for the software to interpret. To mitigate this, they are often covered with a fine powder to make the surface less reflective. In our case, we faced two main complications during this process. The first was that our Totoro plush couldn’t stand upright on its own, and laying it flat would have made it difficult for the software to recognize certain parts of the model. To solve this, we placed Totoro inside a vase, positioning it in different ways to capture all possible angles. However, using the vase also introduced complications, as its glossy surface and color were similar to Totoro’s body. To address this, we decided to cover the vase with a scarf, which we later removed during the 3D model editing phase. The second complication involved the reflectivity of certain parts, such as Totoro’s nose, eyes, and belt. To ensure a high-resolution model, we had to cover these areas with a fine layer of white powder.
It took three shooting sessions and a total of 660 photos to finally achieve a satisfying result.