Point Cloud of Merida with the Markers on it
Point Cloud of Merida with the Markers on it
Once we had enough images that captured Merida from all possible angles, we imported these images into Agisoft Metashape to start the next stage of the digitisation process. In order to ensure only Merida was digitised, we created masks to mask out the background and the floral foam. We used the new AI masking tool to create the masks, but as sometimes the software does not recognise what is Merida and what isn’t we had to do some manual tweaking of the masks by either adding some parts or removing others. Although this ended up being a time consuming process with almost 200 images to go through, we felt it would help the software in creating the model and make the process easier in the long run.
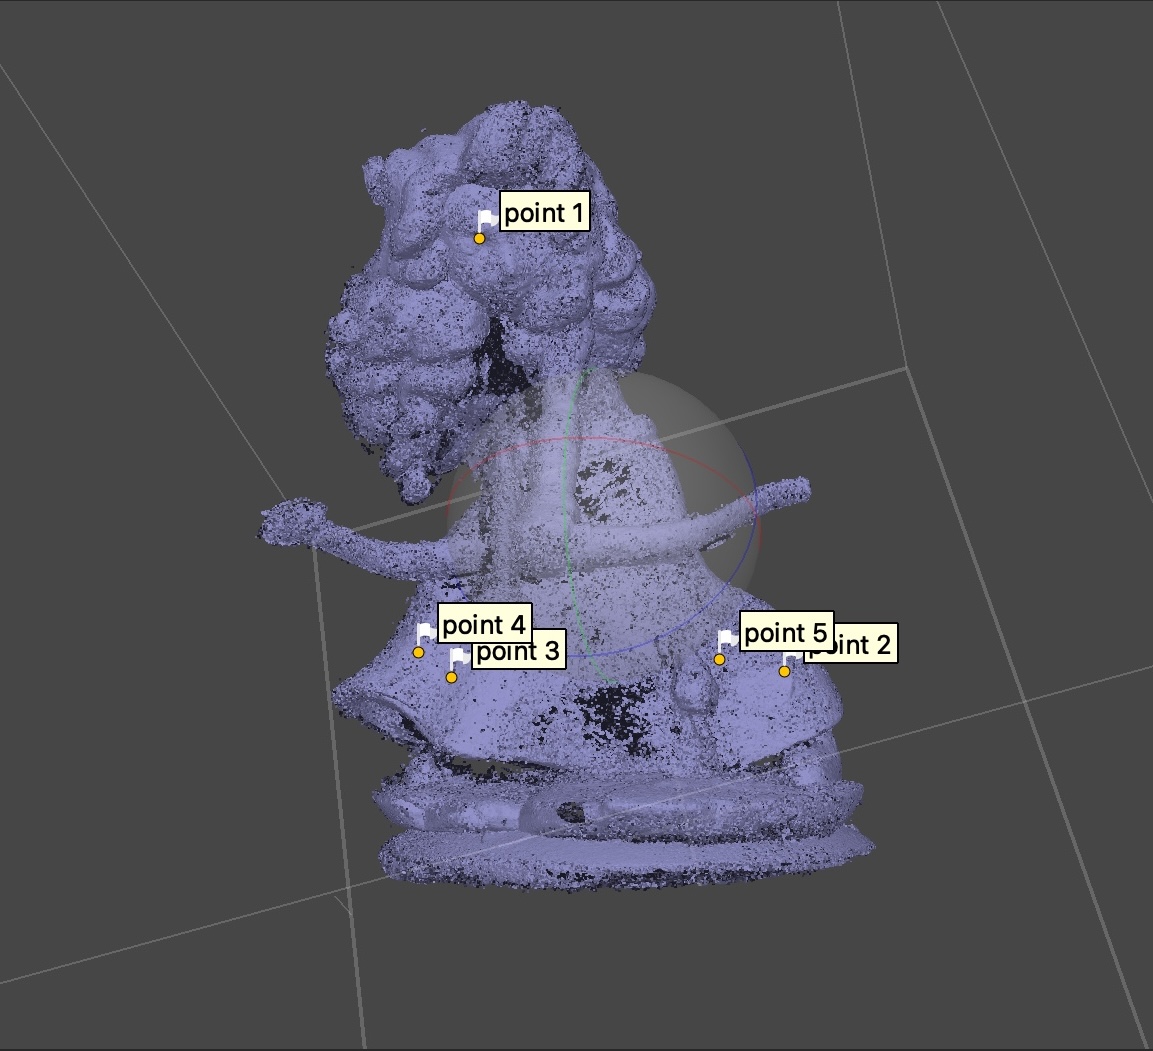
After creating and refining the masks, we aligned the photos and began to see the rough form of the model taking shape. Because we photographed Merida both upright and upside down, we created two separate models based on each set of photos, which we then combined afterwards. To help the program with combining these two, we placed markers on both models, allowing the software to better recognise common points and merge them accurately.
The next step was to build a dense point cloud, which further refined the structure and served as the foundation for generating the 3D mesh. Once the mesh was created, we cleaned up the model by removing extraneous points and smoothing the surface. Finally, we applied the texture to bring the model to life with its original colours and details.
Due to ecountering several challenges, we repeated the modelling process multiple times and experimented with different settings. Unfortunately, the final result did not turn out as we had hoped. The 3D model still lacks smoothness in several areas, particularly in the dress, the hair, and the bottom, making it look far from the realistic representation we aimed for.